Salt Dough Ornaments
Have you tried salt dough ornaments yet? This is a simple and fun recipe to try with kids, but I’m not gonna lie, I would totally do this by myself!
Making salt dough ornaments has become a yearly tradition in our house. We have made them for Halloween, Christmas and Valentine’s Day.
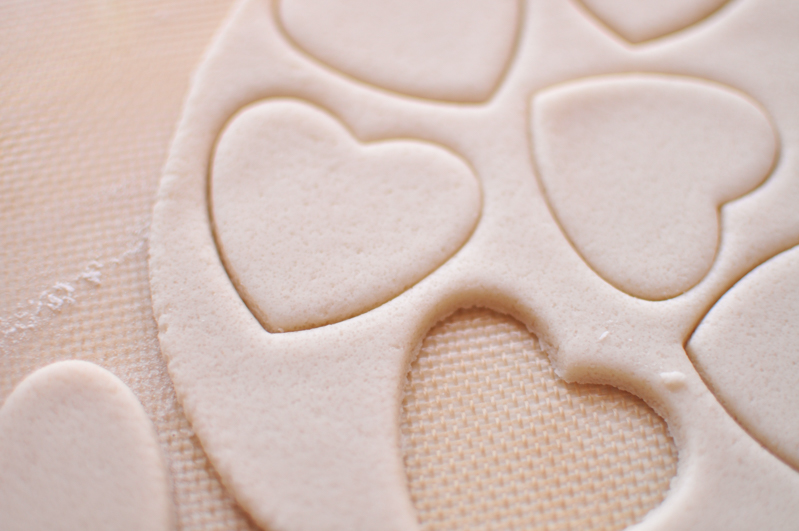
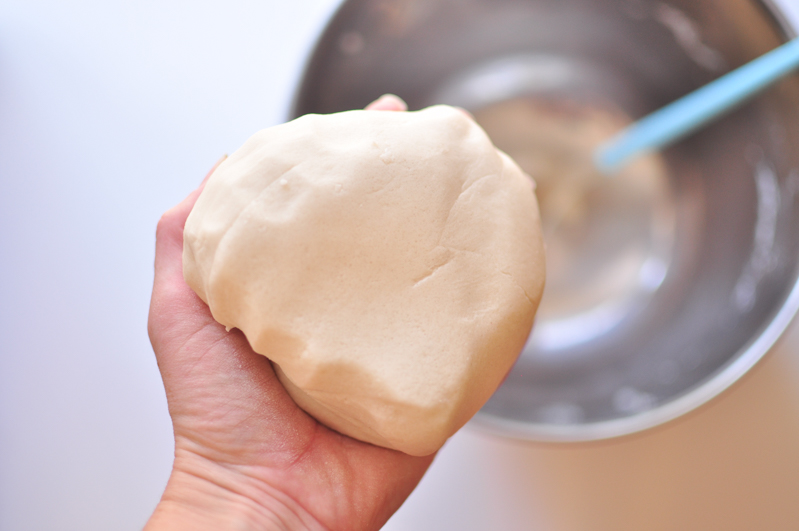
Just 3 ingredients needed for this fun project: all purpose flour, salt, and water. Mix together and knead the dough until smooth. Roll out on a silicone baking mat or parchment paper, cut, bake, & decorate!
Sounds easy enough, right?!
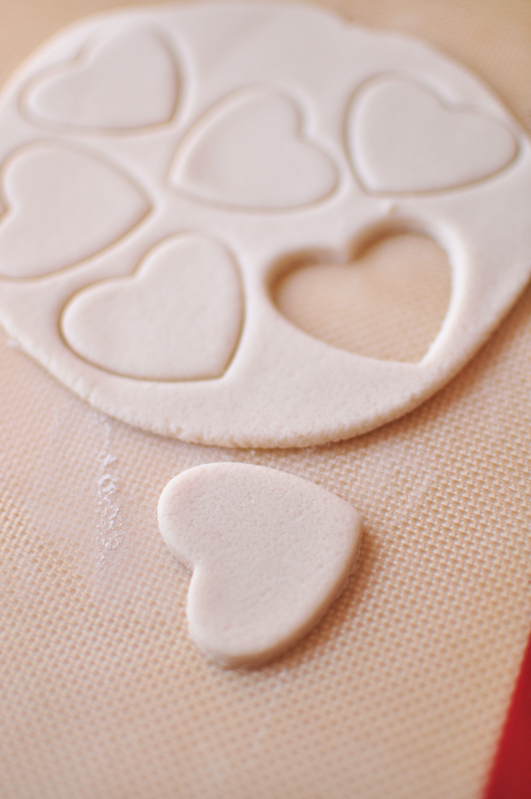
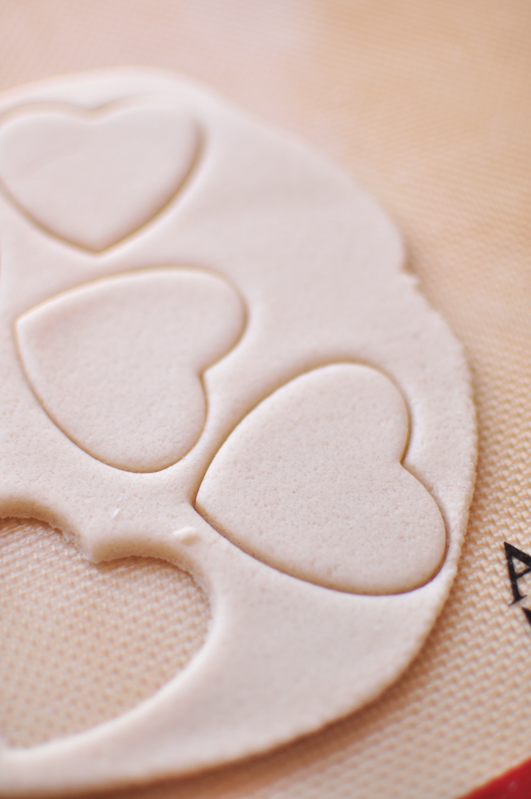
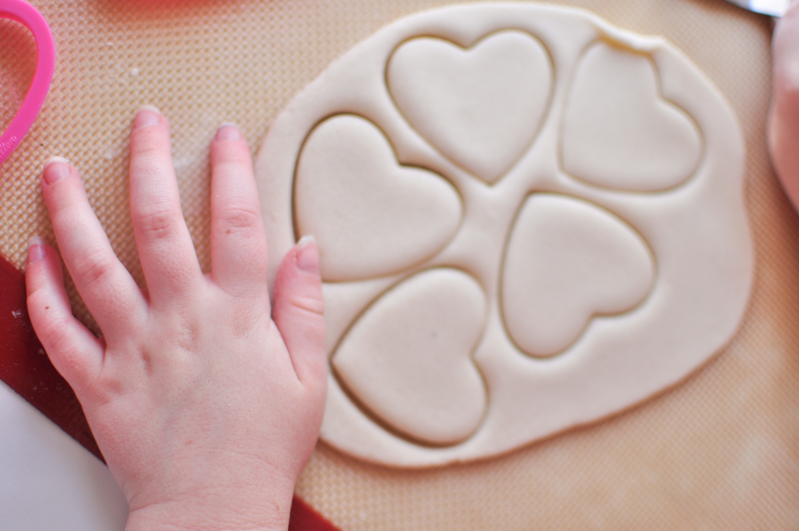
Since this is a kid friendly dough, let your kiddos get their hands in and help roll out the dough and use the cookie cutters.
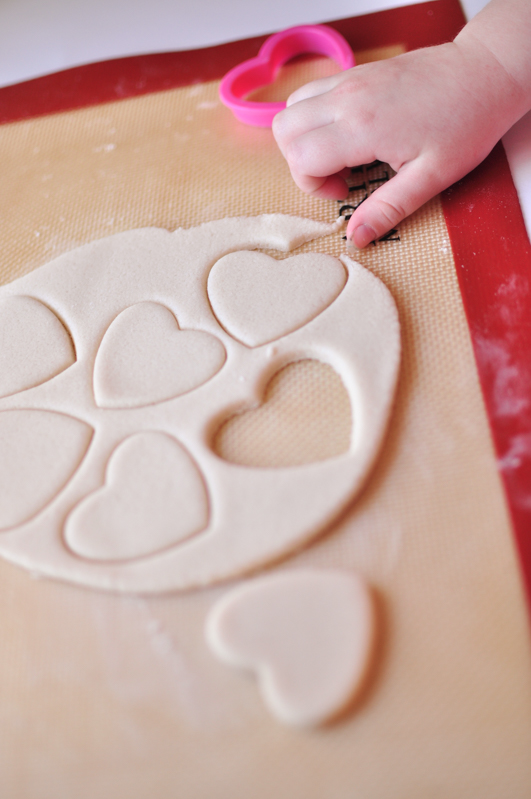
Little hands…so precious!
I always like to do a few personal ones, these are the family thumbprints in the large heart.
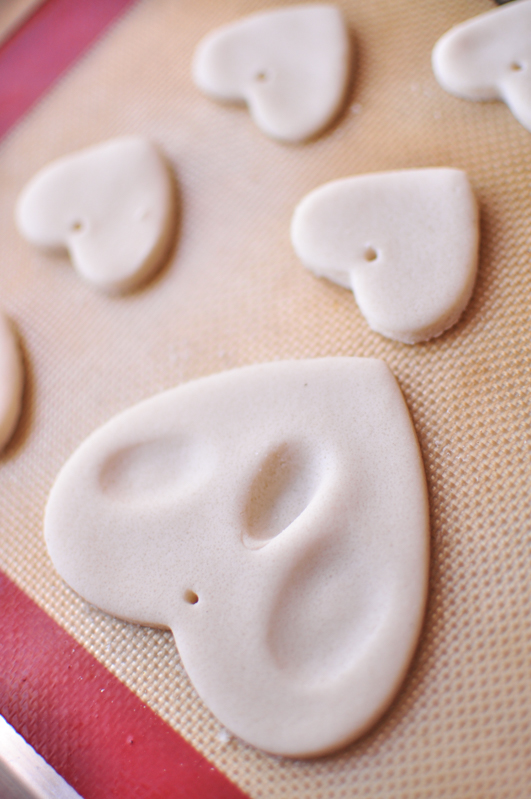
Had to go ahead and do some bunny ones while we were at it 🙂
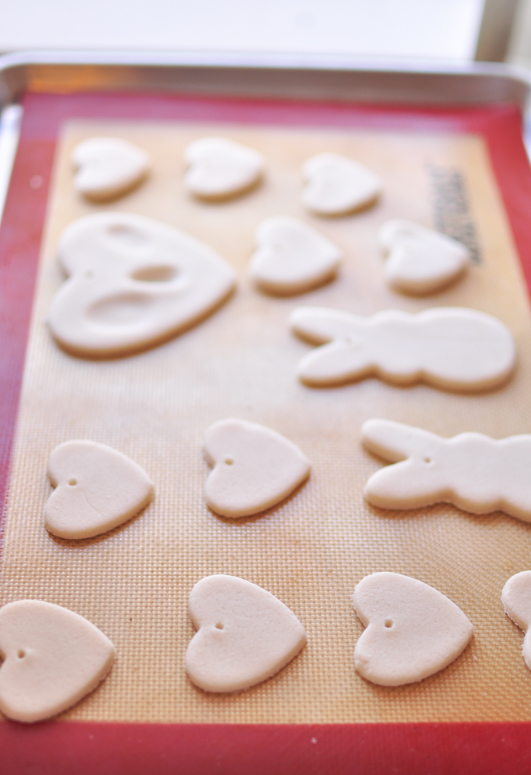
So once they’re baked, they should be completely hard, no mushy or springy feel. When they’re cooled, we decorate!
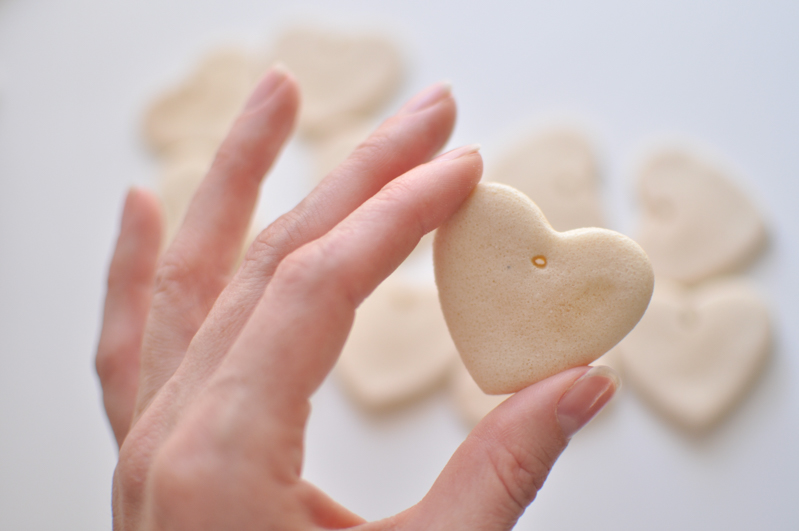
I use twine for ours, but you could use yarn, ribbon, or other pretty string.
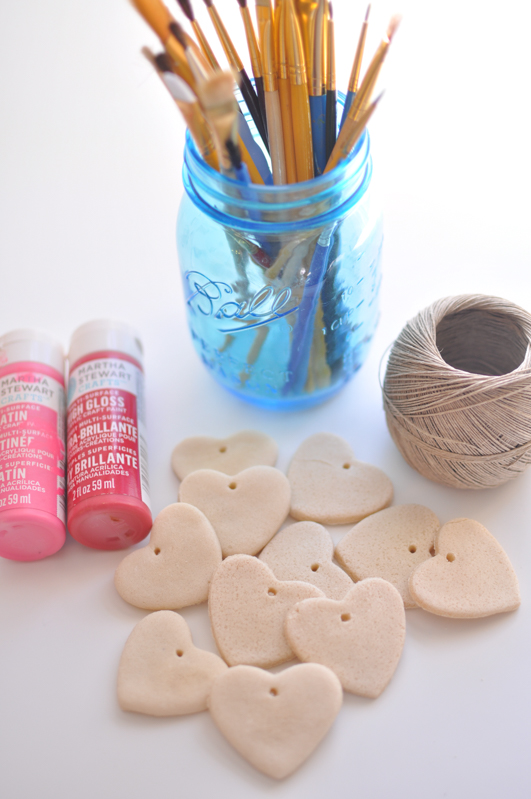
And we paint! These don’t have to be perfect-keep in mind that the more you let the kids do, the funner it will be!

Done! Use for decor, banners, gift tags,

Ingredients:
- 2 cups all purpose flour
- 1 cup salt
- 3/4 to 1 cup warm water
Instructions:
- Mix all together and knead until the dough is very smooth. The longer you knead, the less “sandy” the appearance of the dough and ornaments will be. I like them both, but with less kneading, the ornaments tend to look a bit more rustic.
- Roll out dough on a floured surface, I like mine to be around 1/4″ thick. The thinner ones break easier …(or it could be that my kid is just too rough and drops them often ;-D)
- Use a straw or toothpick to make a hole at the top for hanging.
- Bake on parchment paper or silicone mat, in a 200 degree oven until hard, around 2-3 hours usually.
- *I’ve tried baking at a higher temp, around 300, but every time I’ve baked this high, mine puff up and have bubbles. This can be cute, but if you don’t like surprises, go for a lower temp for a longer time.
- Decorate with glitter & mod podge, craft paints, stamps, however you desire!
Salt Dough Ornaments
Ingredients
- 2 cups all purpose flour
- 1 cup salt
- 3/4-1 cup warm water
Instructions
- Mix all together and knead until the dough is very smooth. The longer you knead, the less “sandy” the appearance of the dough and ornaments will be. I like them both, but with less kneading, the ornaments tend to look a bit more rustic.
- Roll out dough on a floured surface, I like mine to be around 1/4" thick. The thinner ones break easier.
- Use a straw or toothpick to make a hole at the top for hanging.
- Bake on parchment paper or silicone mat, in a 200 degree oven until hard, around 2-3 hours usually.
- *I’ve tried baking at a higher temp, around 300, but every time I’ve baked this high, mine puff up and have bubbles. This can be cute, but if you don’t like surprises, go for a lower temp for a longer time.
- Decorate with glitter & mod podge, craft paints, stamps, however you desire!
Looking for more cookie cutter projects?
Try our favorite roll out sugar cookies here


