Easy Homemade Goat Milk Caramels
This recipe makes a batch of delicious soft and chewy homemade goat milk caramels. With so much more flavor than store bought caramels, they are perfect for gift giving and make a great handmade Valentine. If you don’t have goats milk, no worries, I’ve listed several traditional options in the notes!
Do you guys watch Alaska the Last Frontier? This is one of my absolute favorite shows. I love how the family tries to live off the land as much as possible, and when it comes to gift giving, their motto seems to be handmade is better. After viewing their Christmas episode, it left me inspired to make more gifts from scratch.
Since we aren’t really big on celebrating Valentine’s Day, I normally wouldn’t think about trying to make something. However, Harper loves all things Valentine’s and I love getting in the kitchen for a new project! Since baking & treats are my thing, this year I decided to go Kilcher style and make Bill a gift that he was sure to love.
My goal: use up some of our goat’s milk and make caramels from scratch, and cover them with dark chocolate & sea salt. Piece of cake. Or candy.
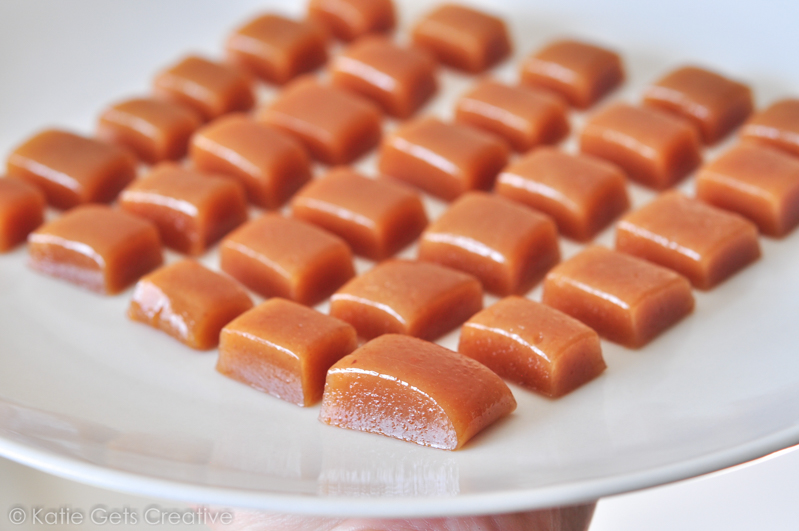
Homemade Goat Milk Caramels
Ingredients
- 2 cups milk or heavy cream (half & half, whole milk, evaporated milk, goat milk or a combo of any)
- 1 cup light corn syrup
- 2 cups granulated sugar
- 1 cup light brown sugar, not packed
- 1 cup salted butter, (2 sticks)
- 1 teaspoon salt
- 4 teaspoons vanilla extract
- sea salt, optional-for sprinkling
Tools
- 1 tall, heavy bottomed sauce pan
- 9 x 13 pan, heavily buttered or lined with parchment paper
- parchment paper to line pan (not wax paper!)
- wooden or silicone spoon to stir with
- rubber spatula to get all the caramel out of the pan
- candy thermometer
- wrappers for candy (optional)
Instructions
- Gather all tools & ingredients before beginning.
- Butter or line a 9 x 13 dish with parchment paper & set aside.
- Measure ingredients and pour all except for the vanilla into your heavy pan, and turn to medium heat. Using your spoon, stir mixture constantly while the sugar dissolves.
- Attach your candy thermometer to the side of the pan (make sure it doesn’t touch the bottom!)
- Sit and wait! This is the part where it helps to pull up a stool and watch. The mixture will begin to boil and it will bubble up the sides a bit. I used my rubber spatula to scrape the sides and bottom.
- Stir frequently, and watch your thermometer. Once you get to around 230° F, things start to go a bit quicker. Don't be tempted to turn the heat up at this point!
- Continue to stir every minute or so until the temperature reaches 247° F. Remove from heat immediately and stir in the vanilla. It will hiss and pop, but keep stirring until the mix is smooth and vanilla is completely incorporated.
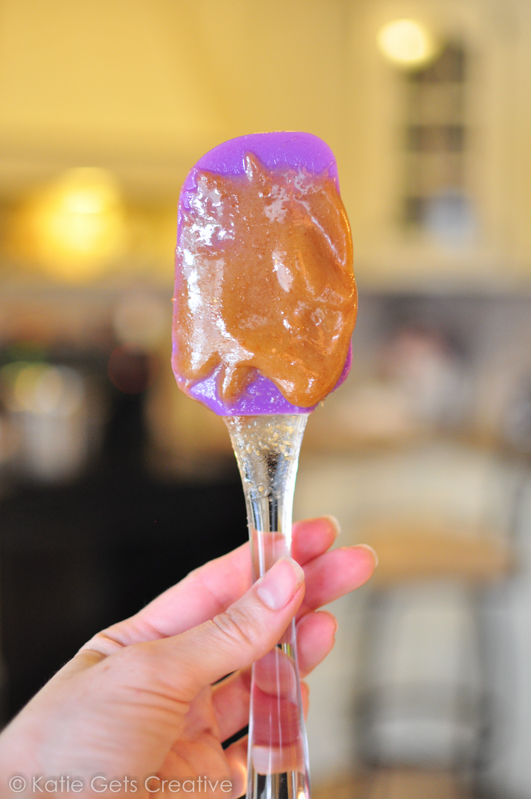
- Next, pour the mixture into your prepared pan. Use your rubber spatula to get those last bits. As your nearing the end, you should notice that the mixture is starting to set a bit, and sticking to your spatula. This is a good sign!
- Let the caramels cool for several hours at room temp, or if you’re really eager, put them in the fridge.
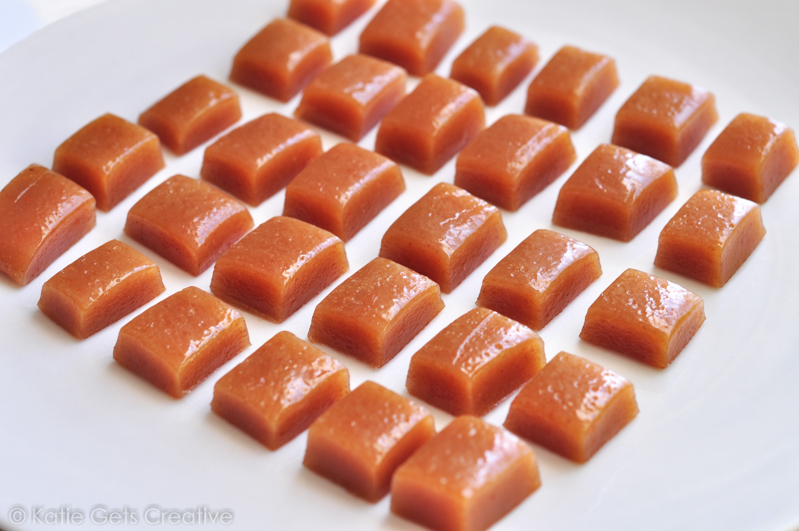
- Once they’re cool, remove from the pan and cut into squares & wrap. Or if you’re making chocolates, click over to my other post and check these out!
Here’s how to make Goat Milk Caramels. Let’s get started!
If this is your first time making caramels, my only advice is this: don’t rush it! Caramels are easy and only require simple ingredients, but they take time and precision. You don’t want to make these if you’re needing a quick & easy treat.
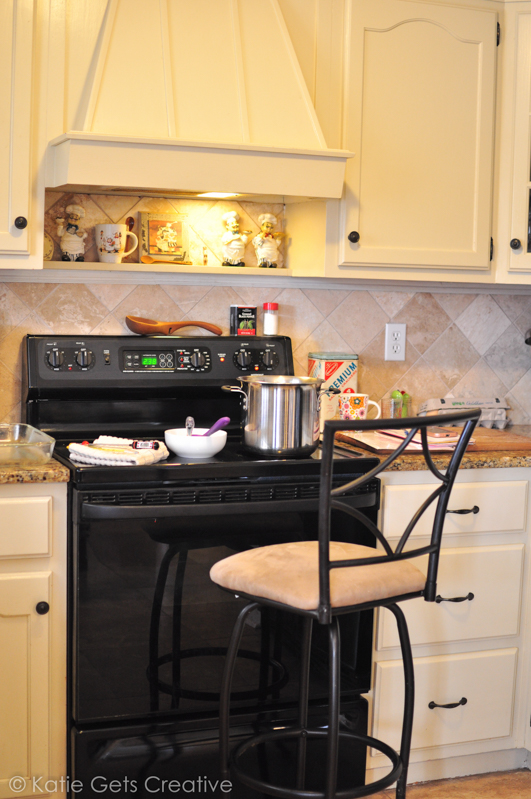
First thing you’ll want to do is gather all of your tools together.
- You’ll need a heavy bottomed sauce pan for the cooking. If your pan is too thin, the candy will likely burn. I used my tallest stainless steel pan because it is very thick & sturdy.
- 9 x 13 pan for pouring candy into. I used my pyrex dish.
- Either butter your pan or use parchment paper for lining pan (this makes it SOOO much easier to remove the caramels from the pan), whatever you do-do not use wax paper for this!
- Wooden or silicone spoon for stirring
- Rubber spatula (good for scraping the bottom and sides to get every last bit of yum in your pan!)
- Candy thermometer for measuring correct temp
- Wrappers for candy, or wax paper (optional)
Our ingredient list is simple.
Milk (whole milk, evaporated milk, half & half, and goat milk all work here) or heavy cream, light corn syrup, granulated sugar, brown sugar, butter, salt, and vanilla. *I originally made this recipe with all goat milk, but have since used a combo of whatever milk or cream I have on hand.
Add all of these into your pan (minus the vanilla) over medium heat, and bring mixture to a boil. You’ll want to watch closely and stir frequently.
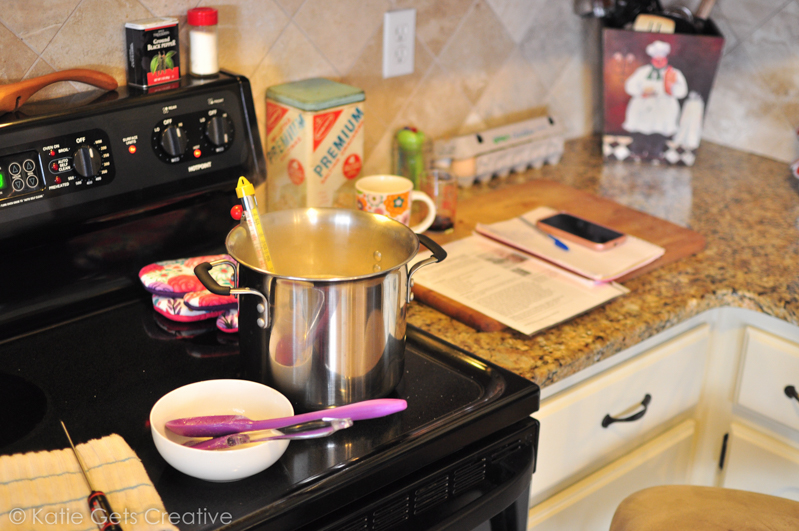
Once the sugars have dissolved, clip your thermometer to the side of the pan and watch! Keep your spoon or spatula handy for stirring. Go ahead and pull up a chair. Turn on some good music and make yourself a cup of coffee. 🙂
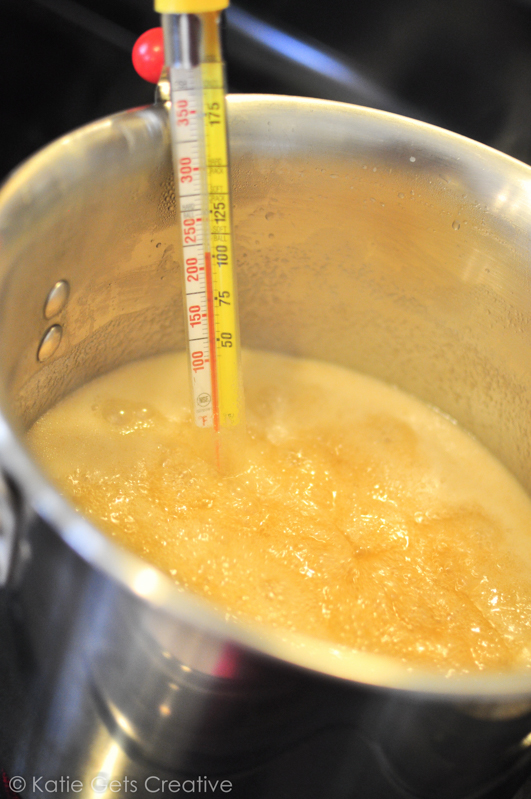
Keep stirring and watching! Once your temp reaches 247° F degrees, remove from heat and it’s time to stir in the vanilla and pour!
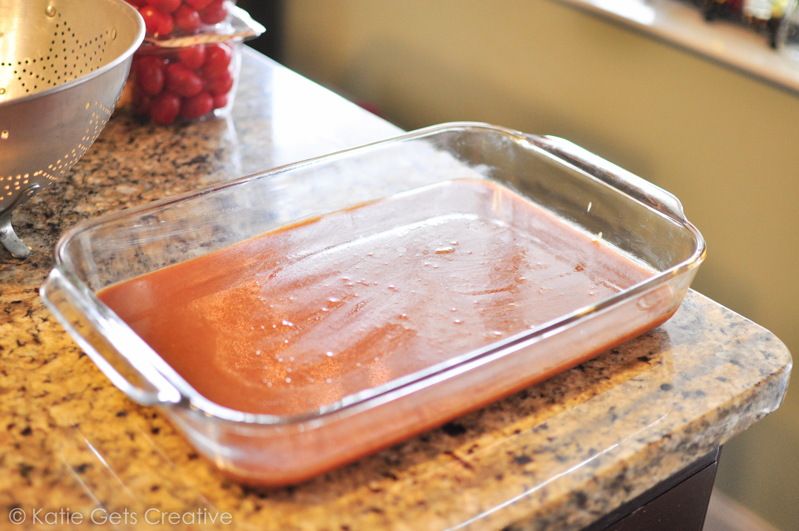
Once you’ve finished pouring, you should notice that the caramel is sticking to your spatula and starting to set. This is perfect!
Let the caramels cool for around 4 hours at room temp, and then remove from the pan and start cutting into squares. You can also put them in the fridge to cool quicker, but they will be harder to cut this way.
If you want to turn these into chocolate candies, click here!
Recipe adapted from Mom’s Caramels



Love that this recipe only requires goat milk as the milk ingredient!
I quartered the batch in case I ruined it. I did. Even though it had some burn it was still tasty. I will be making this again and it didn’t taste very “goaty” so that’s a plus
Happy to hear that you liked the caramel even if it wasn’t quite right. Good luck with your next batch!
These are amazing!! I’ve been making them for a couple years now and I get such great compliments. I also love that I can use whole goat’s milk and I don’t have to add any extra cream. They are sooo good! Thank you for sharing! 🙂
Hi Karli, thank you for trying the recipe and letting me know that you liked it! Happy caramel making!
I made these today and they were absolutely incredible, I love having another way to use our goats milk. Is there a good way for me to store them if I want to bulk make them now and save them for holiday gifts?
Hi Emily! Thanks for trying the recipe, I’m so glad you liked it! You can make the caramels ahead of time and freeze them. Wrap them in wax or parchment paper and store them inside a freezer safe bag.
I love this recipe! Have you tried substituting peppermint extract for vanilla? I’m wondering how much peppermint extract I would add?
I’m so happy to hear that you love the recipe! I’ve never tried using peppermint extract, but I would use just 1 teaspoon in a batch to see how the flavor is. If you try it with peppermint, let me know how it goes!