Soft & Chewy Butterfinger Cookies (No Chill Time!)
An easy recipe for soft & chewy butterfinger cookies. Using my favorite no-chill self rising flour cookie base + butterfinger bits to create cookie magic.

Lately I’m obsessed with butterfingers. I blame Netflix. During an episode of Cobra Kai binge watching, Robby mentions a butterfinger and it set off a craving that hasn’t quit. As if the 90’s kid in me wasn’t already in heaven with the return of the karate kid! I bought up all the fun size bars I could find and raided the remaining Halloween candy stash (just me, or anyone else hide their kids candy?)
We all know I love candy in a cookie-two years ago at the start of the pandemic I offered Toffee Crunch cookies filled with Bits O’Brickle (the inside of a Heath candy bar) and of course my long time favorite, Reese’s Pieces Cookies has been on the blog since 2018. And we can’t forget my best Chocolate Chunk cookies made with a milk chocolate Hershey bar.
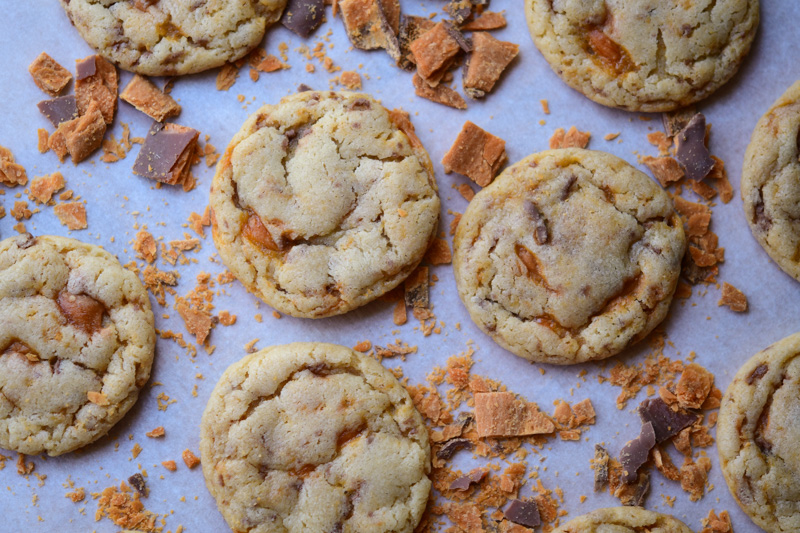
So of course I wanted to make butterfinger cookies-it just makes sense to put them in a cookie, right? This time I took my favorite cookie base and changed it up just a bit and added Butterfinger bits. I give you a match made in candy bar cookie heaven. An aesthetically pleasing (yes, it’s important), chewy, soft in the middle, still soft the next day, butterfinger cookie.
If you’re in the mood for a cookie and you want it quick, you’re in luck. These cookies come together in a flash, especially if you always have a stick of butter sitting out on your counter like I do. If not, no worries, start now!
This post contains affiliate links, which means I make a small commission at no extra cost to you. See my full disclosure here.
What do I need to make these Butterfinger cookies?
Butter, white & brown sugar, egg, vanilla, salt, self rising flour and butterfinger bits.
What if I don’t have self rising flour?
I use self rising flour here because sometimes I’m a lazy baker and SR flour is so easy. But if you don’t have any, for this recipe you can use all purpose flour + 1 tsp baking soda + 1/4 tsp salt. ***This is not a typical replacement for self rising flour, nor is this how to make a self rising flour substitution (which is baking powder + salt). I say “for this recipe” because this recipe is very similar in texture and taste to my Toffee Crunch Cookies and that recipe uses all purpose flour + baking soda.
Tools you may need:
Hand or stand mixer, a good cookie sheet, silicone baking mat, aluminum foil, or parchment paper to line the baking sheet.
How do I make them?
Bring your butter & egg to room temp (I’ve used a cold egg with fine results too though). Cream butter & sugars. Add egg & vanilla and mix well. Add in flour + salt, then butterfinger bits. Roll into balls, bake and eat!
Best Butterfinger Cookie baking tips:
- Use room temp ingredients. The butter shouldn’t be warm or melting. If you need to soften your butter quickly, you can put it in the microwave for 5 seconds, flip, 5 more seconds, flip again, until all sides have been turned. Depending on your microwave, you may or may not need the full 20 seconds for your butter to soften.
- Weigh your ingredients for the most accurate results. This recipe has only been tested with the ingredients listed below. If you’re using a different flour brand, you might have different results. Weighing your flour vs. scooping it with a measuring cup can have a huge difference. If you don’t have a kitchen scale, fluff your flour with a spoon, then spoon it into the measuring cup and level it off with a straight edge.
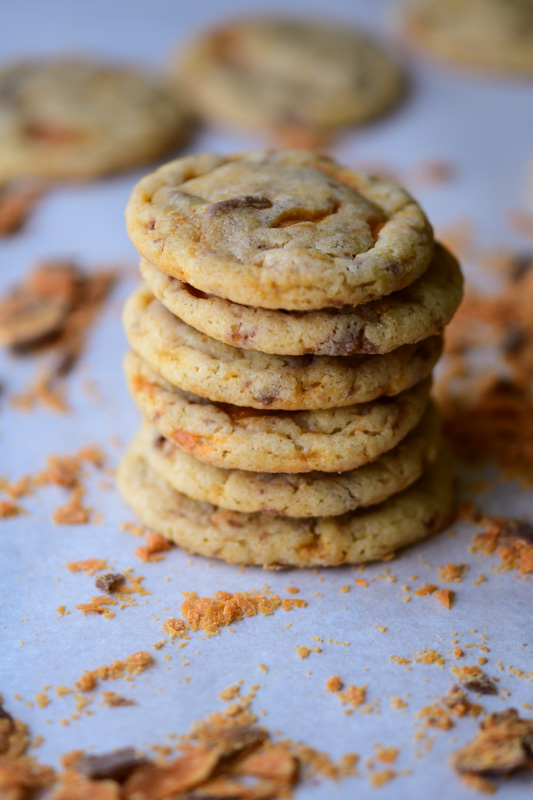
- For THIN and chewy cookies, roll the dough and bake right away. For THICK cookies as pictured in this post, chill the dough for about 30 minutes, then bake. You can stick the whole bowl into the fridge to chill, or roll them into balls, place on a baking sheet, and chill them that way.
- Check your oven temp! Use an oven thermometer to make sure you’re at the right temperature for baking. If you’re oven isn’t up to temp, the cookies will spread too thin before they set and you’ll end up with blobs.
- Aim to slightly under bake the cookies. They’ll continue to bake once removed from the oven. Let them cool on the pan for 5 minutes, then move them to a wire rack to finish cooling.
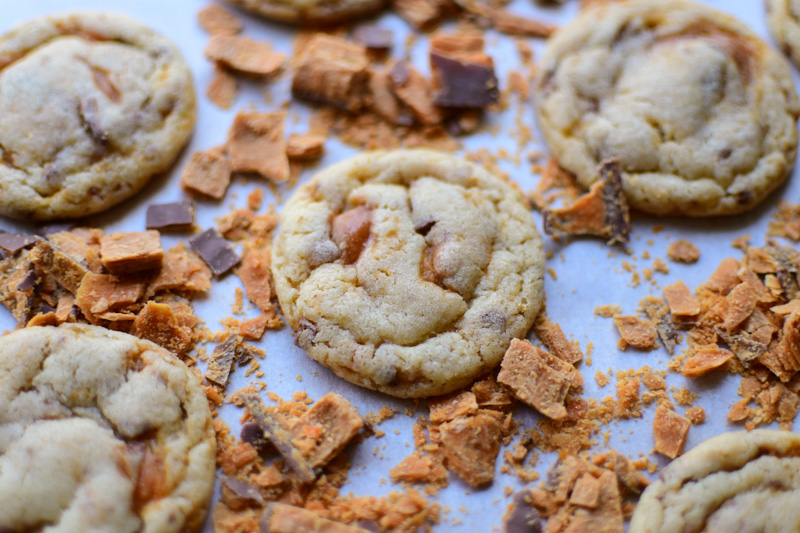
- If your cookies are a bit misshapen (this can happen because of the irregular butterfinger bits) you can reshape them with a biscuit cutter or a spoon. Once the cookies are done and they’re still warm, gently go around the outside of the cookie with a biscuit cutter to tighten it’s shape or use a spoon to push the wonky spots back into a circle.
Variations for this recipe:
If you can’t find butterfinger bits in the baking section of your grocery store, you can also use any size of butterfingers you can find. I prefer the fun size, it’ll take about 8 of them chopped up to make enough for the cookies. If you don’t want to use butterfingers, give this a try with your favorite candy bar!
Chewy Butterfinger Cookies
Ingredients
- 1/2 cup salted butter, room temp
- 1 cup (147 g) firmly packed brown sugar
- 1/4 cup (53 g) sugar
- 1 egg, medium (can be room temp or cold)
- 1 1/2 tsp vanilla
- 1 ¾-2 cups (230 g) self rising flour, White Lily brand
- 1/4 tsp salt (reduce to 1/8 tsp if using salted butter)
- 1 cup butterfinger bits (or use 1 cup chopped butterfinger candy bars-you'll need around 8 fun sized bars.
Instructions
- Preheat oven to 375° F.
- In a large mixing bowl, cream butter and sugars until fluffy.
- Add in egg and vanilla and mix well. about 1 minute or until mixture looks fluffy and well combined.
- Stir in the flour and salt until no white streaks remain, and then gently mix in the Butterfinger pieces.
- This is a fairly wet dough, so if it's too wet to roll into balls, cover the dough and let sit at room temp for about 10 minutes until the flour soaks up the wet ingredients. *See notes below*
- For a thinner cookie, roll into balls and bake for 7-8 minutes or until edges are slightly turning golden. For thicker cookies as pictured, chill the dough for 30 minutes to an hour, then bake.
- Let cool for 5 minutes on the pan then place on wire rack to finish cooling.
Notes
- If you don’t have self rising flour, you can use all purpose flour + 1 tsp baking soda + 1/4 tsp salt instead.
- This recipe has been tested with 230 g of White Lily Self Rising Flour. If you’re using measuring cups, you will need between 1 3/4 cups and 2 cups of flour. If the dough is still too soft to roll, add a tablespoon of flour at a time until the dough can be rolled without sticking, or stick it in the fridge to chill.
- I used a heaping teaspoon of dough to make these cookies. This will give you around 4 dozen small cookies. If you use a tablespoon scoop, you’ll get around 30-32 cookies.
- These cookies were too crispy when baked for 8 minutes in my oven. 7 minutes was perfect for a soft, chewy cookie that remained soft for days after baking.
Looking for more cookies? Try these next!


If you try this recipe and love it, it would mean the world to me if you left a comment and a star rating! Thanks for baking with me!


Made this recipe for one of our Christmas gatherings 2022. They were fantastic. Everyone loved them. Thanks for the the recipe.
Thanks so much for trying the recipe! I’m glad you enjoyed the cookies!
I just made these and they are so good. Thank you for sharing the recipe.
Hi Gayle, so glad you enjoyed the recipe! Happy Baking!
Delicious! Such an easy recipe. I was confused on the amount of flour to use with not having self-rising flour so I just used the same amount of flour plus the other ingredients you said to use. Sorry, I like (need) very direct instructions because I always self-doubt. I missed the part where it said not to melt the butter in the microwave so I’m hoping next time the cookies will be even better. My kids love them!
Hi Carly, so glad that you enjoyed the recipe!
Hi , can these cookies be frozen?
Hi Lori! Yes these cookies can be frozen for up to 3 months.
The dough for these cookies came out very dry and crumbly. The second time I tried it I added butter which helped the dough not be so dry. They never did flatten out but kept their ball shape. The taste was good. I am an experienced baker and don’t recommend this recipe.
Hi Linda, thank you for trying the recipe. I’m sorry to hear that you didn’t have good results. I’ve tested each recipe on my site several times before publishing so you can be assured there isn’t anything wrong with the recipe as written. I made this exact recipe today and as always, the dough for this cookie is quite wet. If your dough was dry and crumbly, it sounds like you added too much flour. To make sure the recipe works for you, please try the recommended ingredients and weigh them for accuracy. This recipe has only been tested with White Lily Self Rising flour, and exactly 230 grams. Happy Baking!