Sour Cream Pie Crust
Hi friends! Today I’m sharing a step-by-step photo tutorial for making sour cream pie crust.
I love this recipe not just because it tastes great, but because it’s so easy to put together. All purpose flour, salt, sugar, sour cream, and butter is all you’ll need to get started.
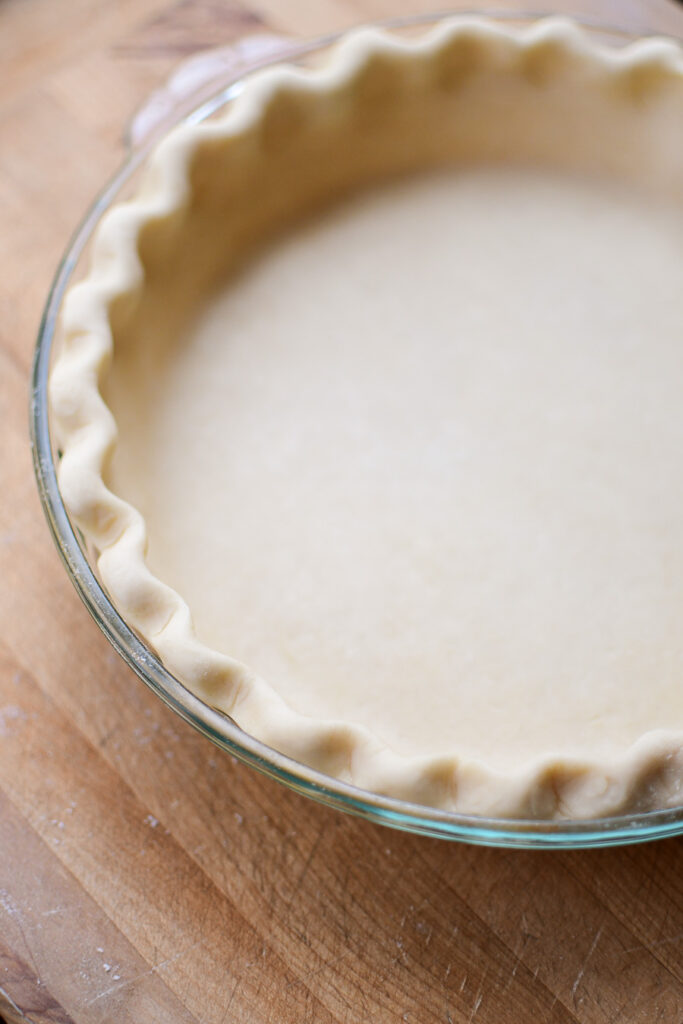
My biggest complaint about pie crusts are that they are usually bland. I want it to add a bit of flavor to the dish, not just be a vessel for the filling. This sour cream pie crust is the answer. It’s not overpowering at all, just enough flavor that you’re thinking “Hey, this is different! I like it!” It’s adding a little “oomph” to your pie.
Let’s get started! First up, the recipe card for those of you who already know how to make pie crust. If you want the step by step photos, just scroll past the recipe.
Sour Cream Pie Crust
Ingredients
- 3 cups all purpose flour
- 4 teaspoons sugar (can omit for savory pies)
- 1/2 tsp salt
- 1 cup salted butter, really cold or frozen
- 1 cup full fat sour cream
Instructions
- In a large bowl, add the flour, salt, sugar and whisk together.
- Grate the butter over the bowl, and gently mix together with the flour. Make sure all the butter has been coated with flour.
- Add the sour cream and mix until dough comes together. It should feel sticky but not unmanageable.
- Divide the dough into two sections and pat down into a round. You can go ahead and roll out the bottom crust now and add it to the pie pan. Refrigerate while the filling is being made.
Notes
Tools you’ll need to make pie dough
Large mixing bowl, grater (or a pastry blender), rolling pin, and pie plate
To make the dough:
In a large mixing bowl, whisk together the flour, sugar, and salt. Take 1 stick of butter and grate it in. (You could also chunk the butter in cubes and cut it in with a pastry blender if you’re a traditionalist, do whichever way works best for you.)
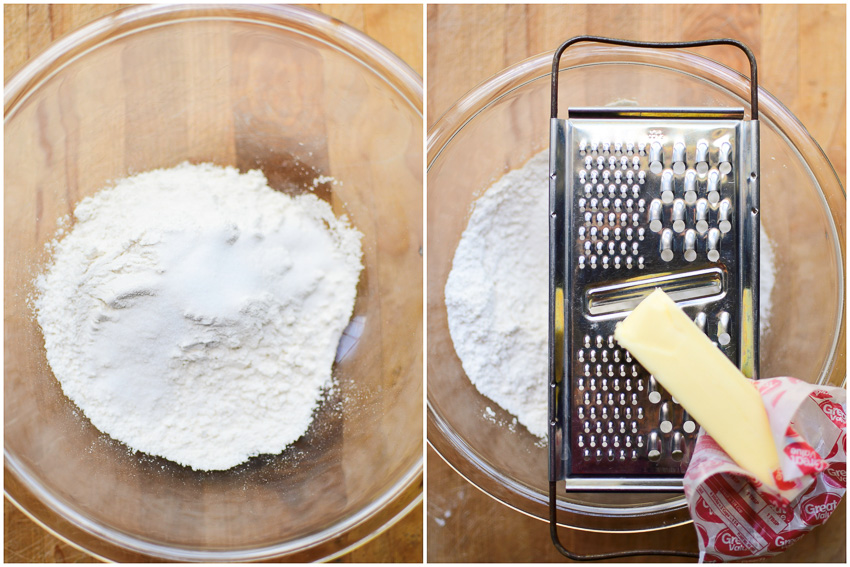
The butter will clump on top of itself as your grating, this is what it will look like as you’re working.
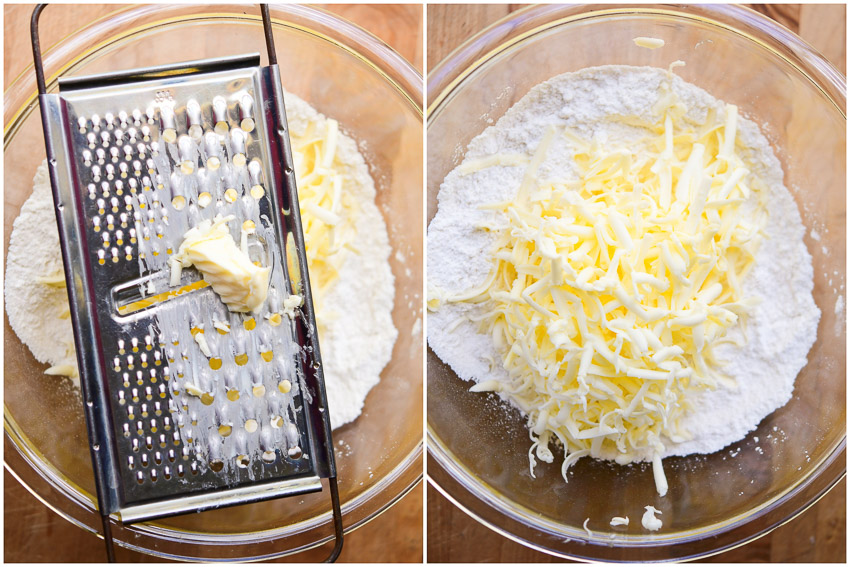
Take a fork and mix the butter in to the flour, making sure to coat each piece of butter. Repeat this grating and mixing process with the second stick of butter. (As a side note-it’s easier to grate one stick at a time, followed by mixing. If you don’t, you end up with a giant mountain of butter that’s harder to incorporate.)
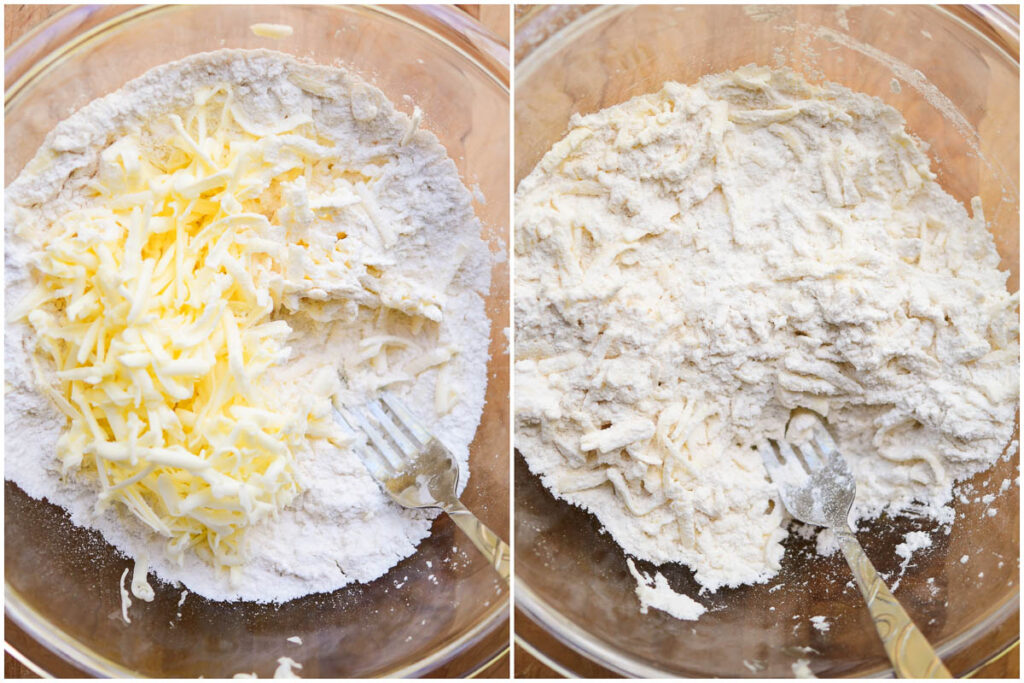
Next, we add in our sour cream. I use a fork to mix here.
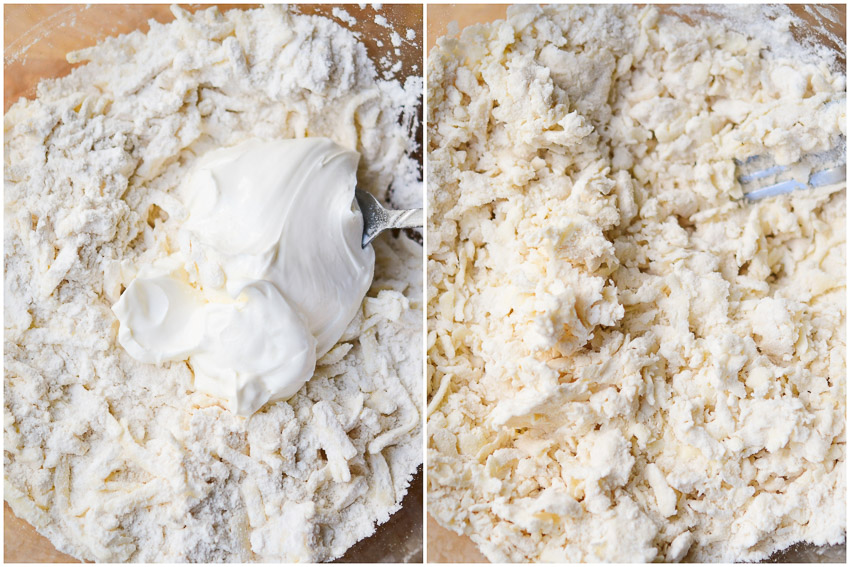
Once you’ve mixed as much as you can with the fork, it’s time to get in with your hands. Working quickly, begin to mash the dough together. It should start to clump up in big pieces.
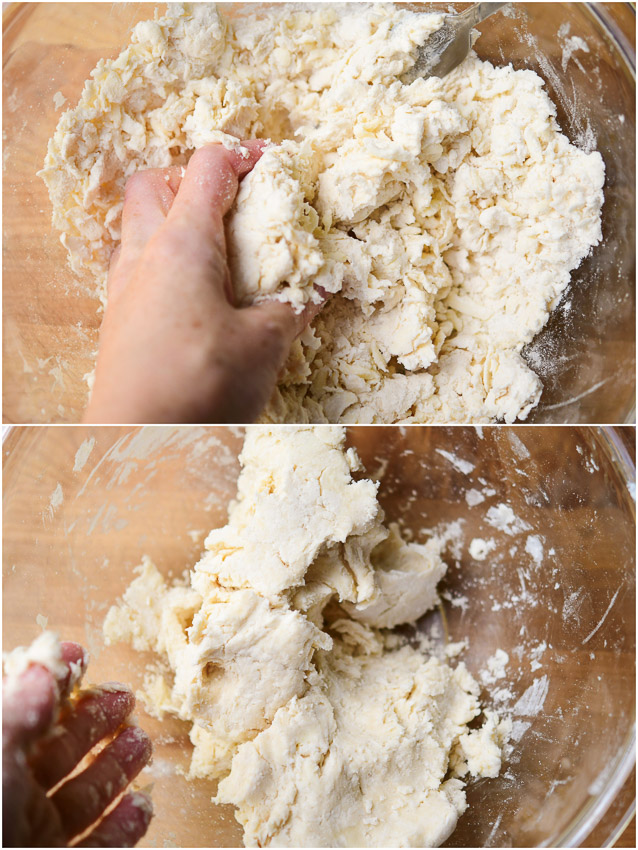
It will look rough and shaggy, this is perfect. Just keep quickly mashing. If the dough isn’t coming together, you can add a small spoonful or two of sour cream and keep working the dough. Once you get it together in a ball, it will still be slightly shaggy, and the consistency of play dough.
**Don’t add too much extra sour cream here, just enough that the dough comes together without being overly sticky or wet. If you add too much sour cream, it will bake up with a gummy texture instead of flaky.**
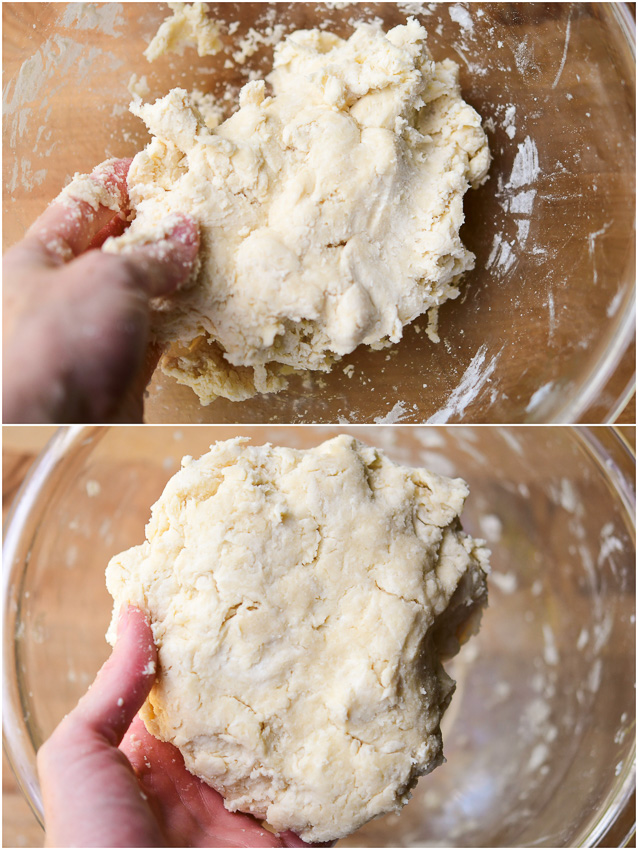
Once the dough forms a ball, divide it in half for the top and bottom crust. Take each ball and pat it down into a disc, about 5-6 inches wide and an inch tall. Your pie crust is now ready to use!
Next, you have a few options. You can either chill the dough for later, or go ahead and roll out a bottom crust.
If you’re chilling the dough, place each disc into plastic wrap and put in the fridge until you’re ready to use it.
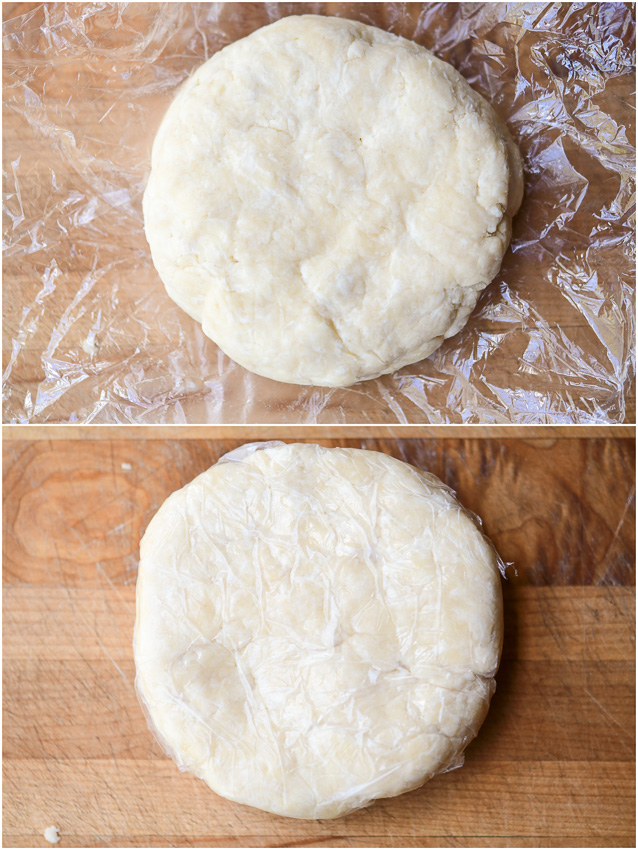
How to roll the dough into a pie crust:
If your dough has been chilling, remove it from the fridge and let it sit on the counter for about 10 minutes or so. It’ll be easier to roll if isn’t straight from the fridge.
When you’re ready to roll the dough, flour the rolling surface and the top of the dough. I like to roll my dough on parchment paper, placed on top of a silicone baking mat to hold it in place.
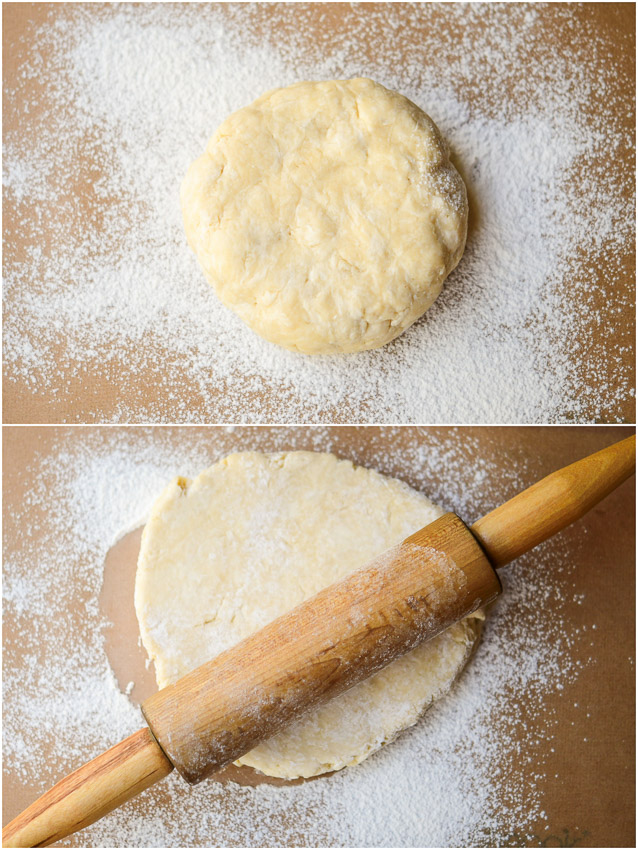
Start in the center of the dough, gently press down and roll evenly toward the edge. I typically do like this: center to the top left, center to top, center to the top right. Then I lift and turn the dough half way, make sure there’s enough flour under the dough, and then continue to roll in the same way: left, center, right.
Roll the dough until it’s larger than your pie dish by a few inches and about 1/8″ thick. To check this, I hold my pie plate just above the dough and eyeball it.
To put the dough in the dish: There are a few ways to do it. If this dough has been chilled, it’s still pretty firm and I just pick it up and place it on the dish. You can also roll the dough onto the rolling pin, then unroll it over the pie pan.
Place the dough over the pie dish and gently lift the edges and let the dough mold into the pie pan. You can press gently with one hand while lifting with the other.
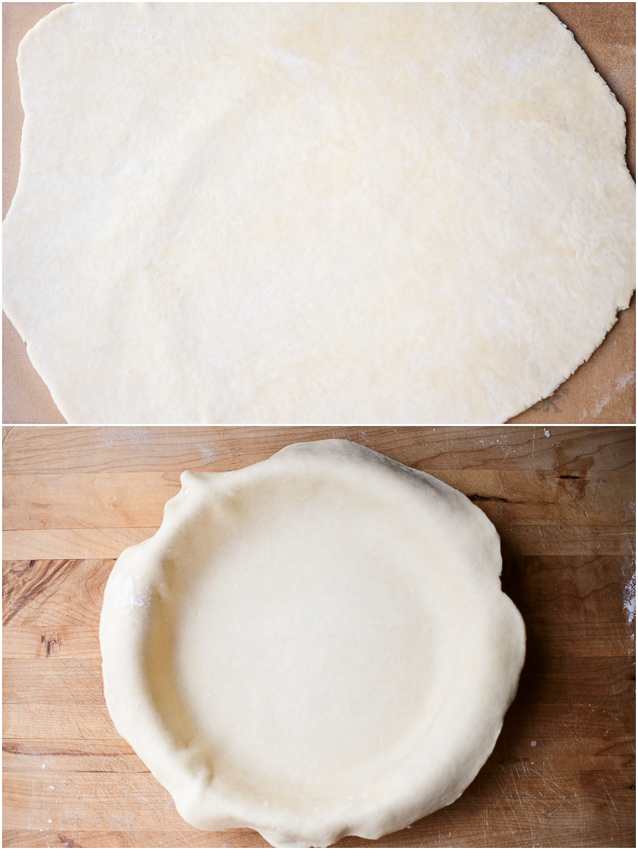
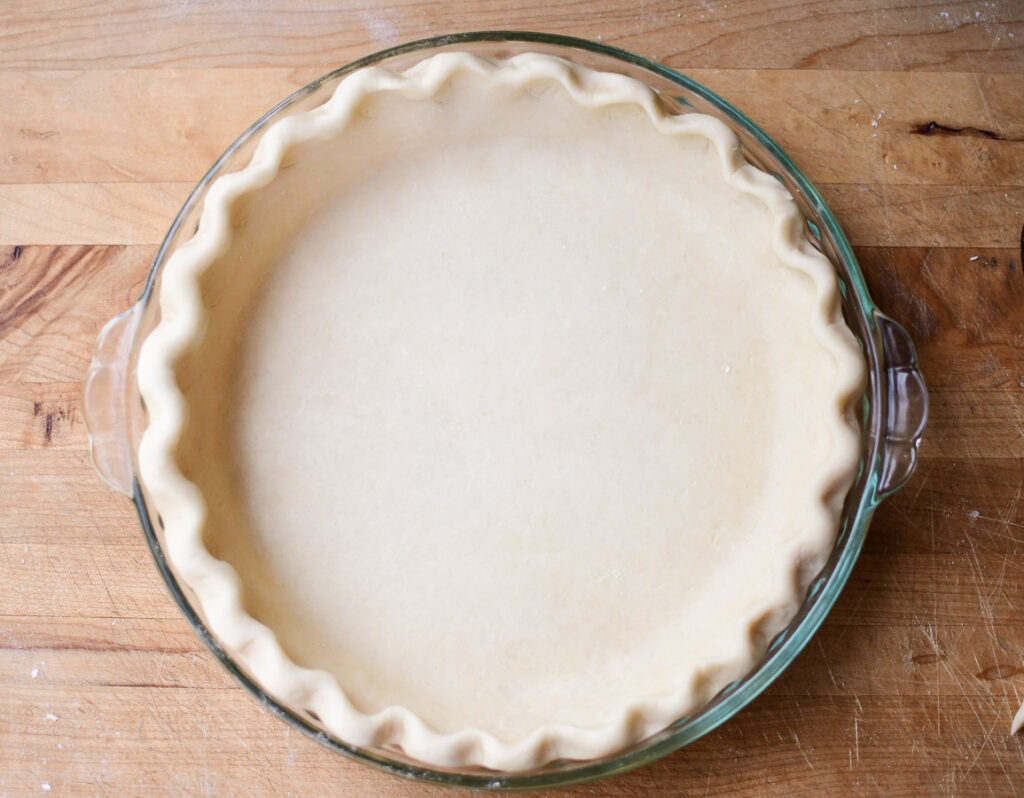
Next trim the edges with kitchen scissors. You want to leave a bit of an over hang to make the decorative edge. Once you’ve trimmed, tuck the excess to the outside and then you can flute the edges (if you like!). This is the part where you can get creative.
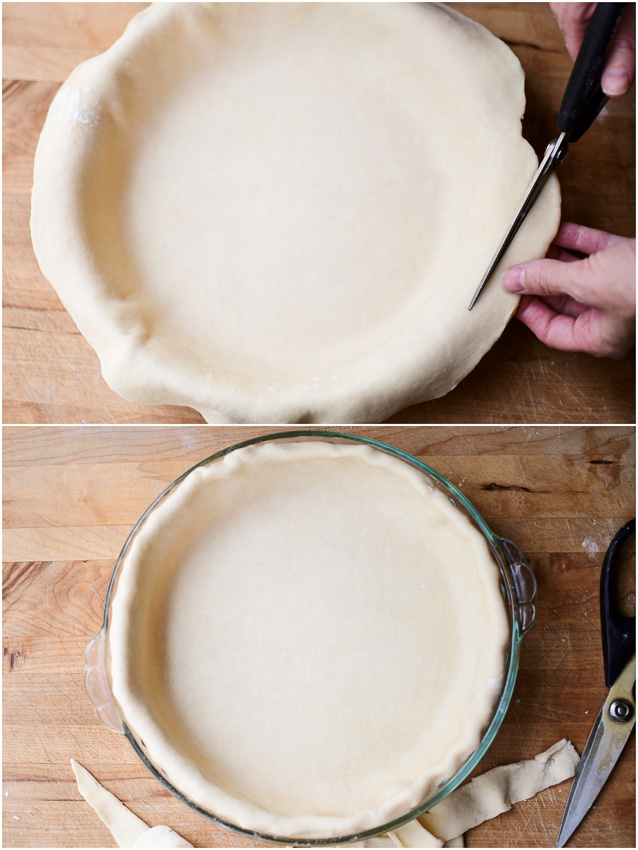
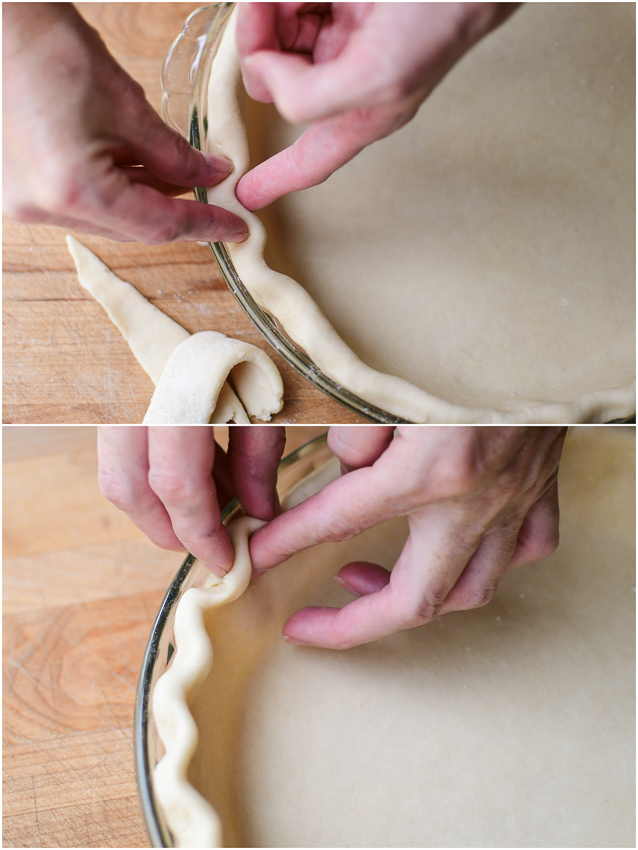
How to make a pretty fluted edge for pie crust
To flute the edges, place your index finger and thumb on the outside of the dough about an inch apart, and use your index finger or knuckle of your other hand to make an indention in the space between your thumb and finger. Go all the way around the edge of the pie.
For a single crust pie, you can do the fluted edges before filling the pie. If you’re making a double crusted pie, wait until you’ve added the top crust. Pinch the edges of top and bottom crust together to seal, then fold them under before fluting.
Chill before using the pie crust
This dough needs to chill in the fridge before you bake with it. You want the dough to be nice and firm before it goes in to the oven. A 30 minute chill in the fridge will help the crust to keep the decorative edge and from melting into a puddle around the pie filling.
To keep the shape as pretty as possible, I chill before I add the filling, and again after adding the filling for another 30 minutes (or longer).
Here’s a few of my favorite pies to try this crust with:
or for a savory pie, try this Crawfish Pie





Can i use this pie for a blueberry pie? Also do i need to prebake botyom pie before hand?
Hi Shelley, you can use this for a blueberry pie. It’ll work for just about anything you need a pie crust for. I’ve never pre-baked it when I use this recipe for a fruit pie.