
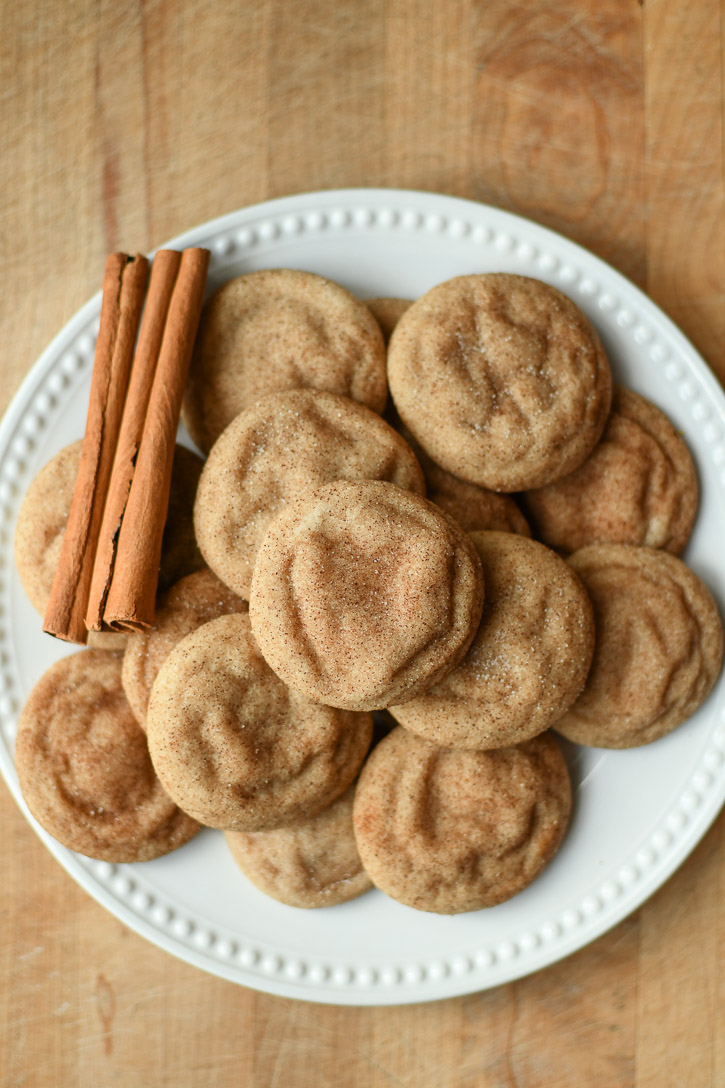
Brown Butter Snickerdoodles
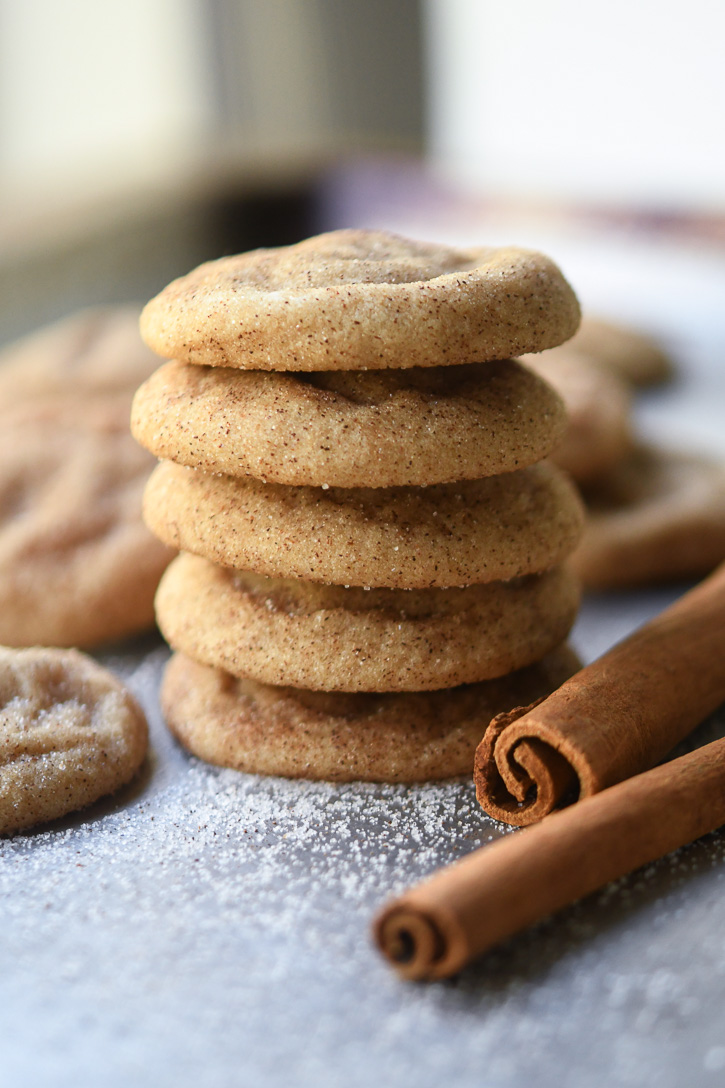
These Brown Butter Snickerdoodles are soft, thick, and chewy (not cakey!), and packed with flavor. The edges are ever so slightly crispy and the centers are soft. The outside is wrapped in cinnamon sugar. These cookies need no chilling time, so aside from the time it takes you to brown your butter, you’ll be ready to bake in no time!
This post contains affiliate links, which means I make a small commission at no extra cost to you. See my full disclosure here.
It’s that time of year when cold weather food favorites start seeping into my brain and all I can think about is cozy fall baking. Cookies obviously top my list of things to bake, but I’m also thinking about pies and cakes, soups and breads. The list is long (and delicious). I’ve got already got Thanksgiving and Christmas treats on the brain. Cinnamon and spice everything.
My first holiday offering is these brown butter snickerdoodles. I’ve baked so many batches of these that my kitchen seems to permanently smell of cinnamon and cookies. I wanted these to be my kind of perfect-full of flavor, soft, thick, a bit chewy, under-baked, crinkly on top, quick to make, no chilling. It’s a lot to ask, and after 6 batches I finally got the cookie I wanted.
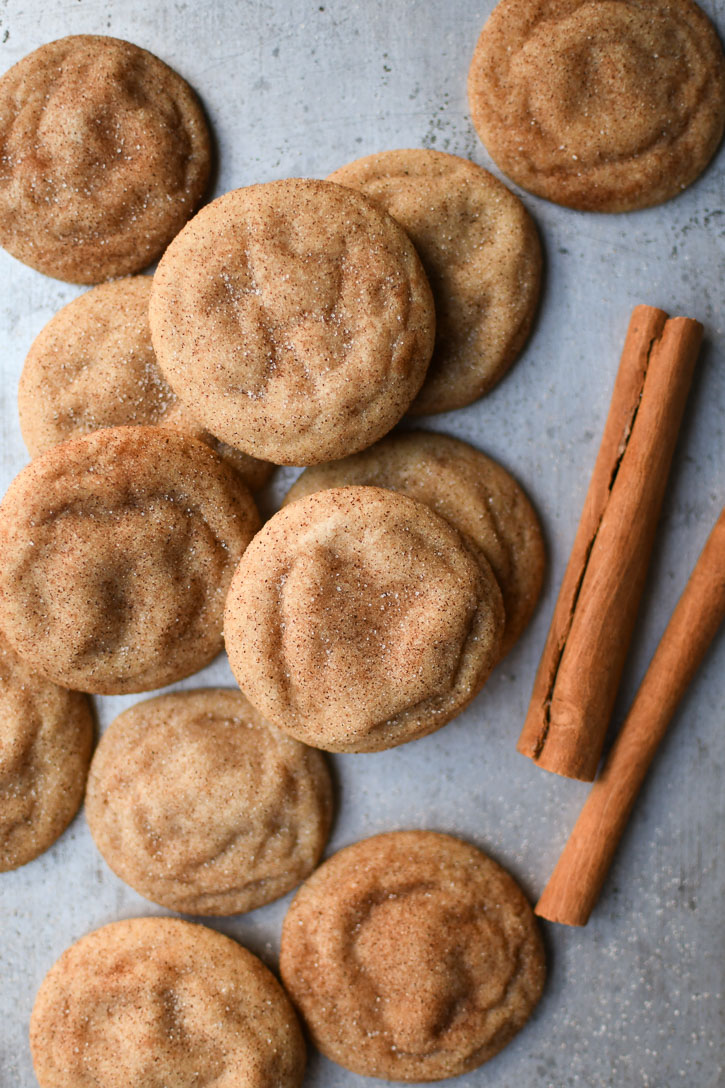
These cookies won’t be mistaken for a cinnamon sugar cookie. These snickerdoodles depart from the old school recipe with the addition of brown sugar, browned butter and cinnamon in the dough. The tang of cream of tartar shines through for the classic snickerdoodle taste. Just under-baked, the brown butter shines here.
You’ll only need about 30 minutes to have these cookies from bowl to plate.
Let’s bake!
Brown Butter Snickerdoodle ingredients:
You’ll need butter, brown sugar, white sugar, vanilla extract, 1 egg, all purpose flour, cornstarch, baking soda, cream of tartar, salt, and cinnamon.
Tools you may need:
Nothing special today, friends. You’ll need a medium mixing bowl, a hand mixer or a stand mixer works too. A good baking sheet and a silicone baking mat or parchment paper, or aluminum foil also works great.
How do I make them?
Go ahead and preheat your oven to 350 F.
We start with browning the butter. I’m a rebel, so I use salted butter. Yes, I know everyone else on the internet uses unsalted. I rarely do and I almost never buy it. I like salt.
Cut the butter in tablespoon slices and place in a medium sized light colored sauce pan over medium heat. On my stove, it takes about 7 minutes or so from a cold stick of butter to get perfectly golden brown. DON’T WALK AWAY while browning butter! You’ll want to watch for the butter to foam up-it’ll look a bit like shaving cream. Keep stirring, you should see the golden bits on the bottom. It will smell tantalizing and you’ll be tempted to try some (do not-you’ll burn your tongue.) Take this off the stove and immediately pour it into your mixing bowl.
Make the dough
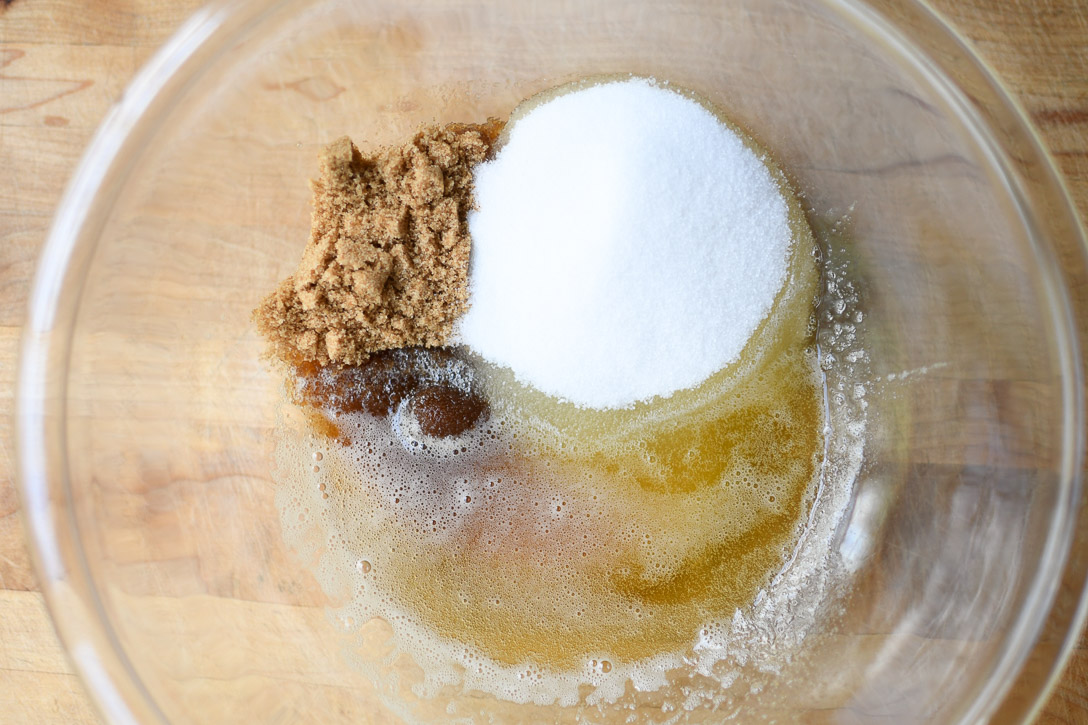
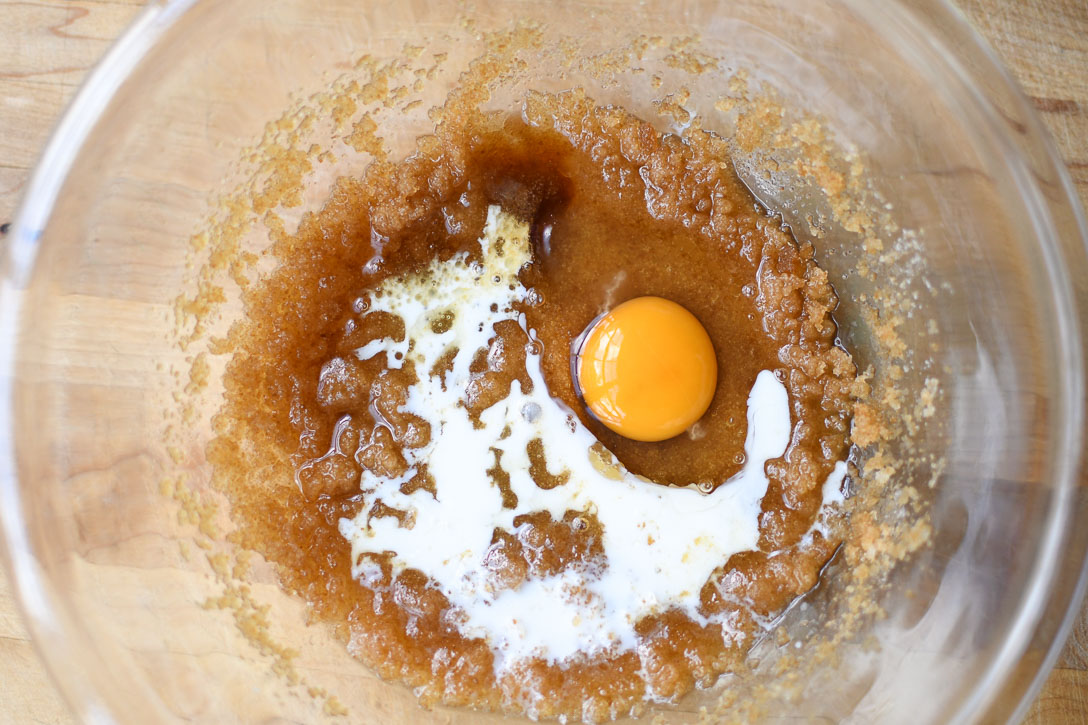
While the butter is cooling (just a few minutes here-we’re impatient for cookies, remember!), gather your sugars, vanilla, and egg, and milk.
You can use measuring cups for your sugars but for ease, I put my bowl on the scale, and weigh them as I’m adding them. Get your hand mixer and whip those sugars in. It’ll look melty and greasy and that’s okay. It’ll come together, trust the process.
Add in the egg, vanilla, and 1 teaspoon of milk. Mix those in. We’re looking liquidy at this point. Now here’s where my rebel status really kicks in. I like to be efficient and I hate dirtying up a second bowl if I don’t have to.
Add your salt, cornstarch, baking soda, cream of tartar, and cinnamon to the wet ingredients and give it a quick stir to distribute.
Then add your flour (again, I just put the bowl on the scale and weigh the flour as I’m adding it.) No getting a measuring cup dirty.
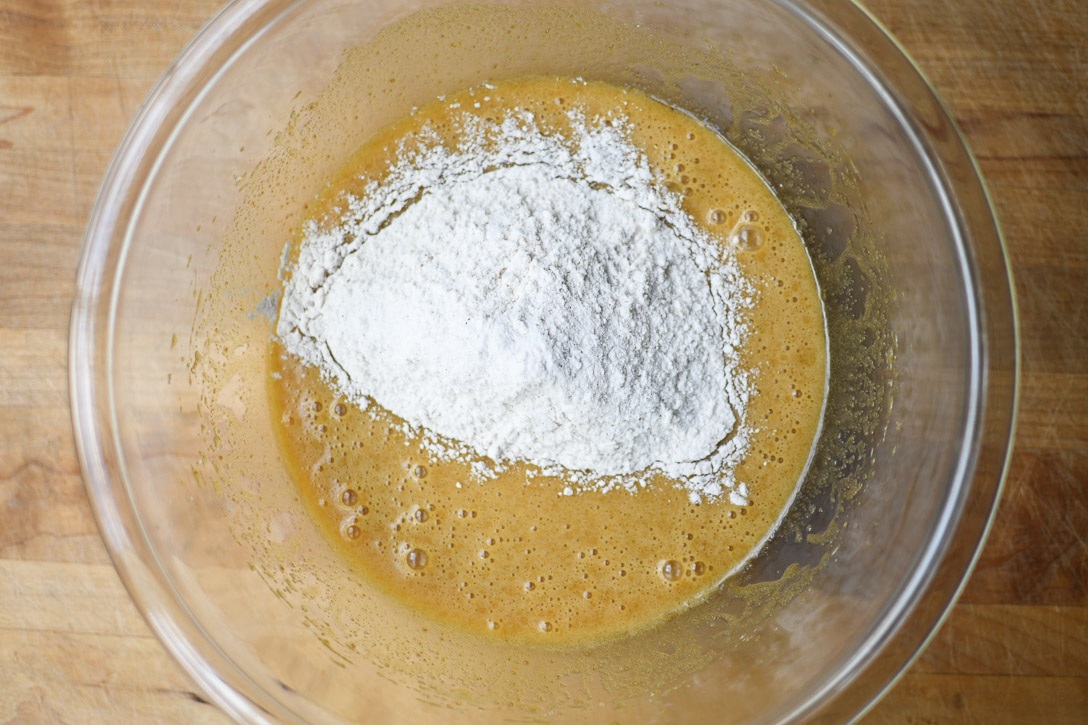
Now mix it! Gently at first so that flour doesn’t fly everywhere.
Your dough will come together, thick but still soft.
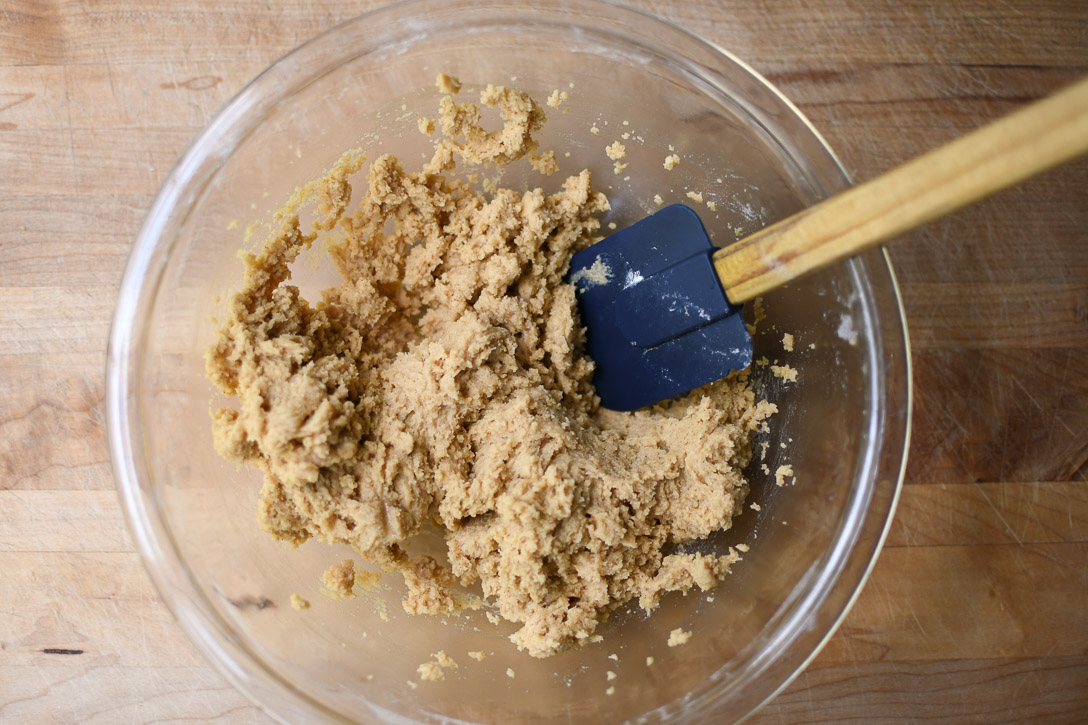
Take your spatula and run it around the bowl and form the dough into a ball. Feel the texture and if it’s too soft to roll, add a tablespoon more flour. Just keep in mind that the longer the dough sits at room temp, the flour will continue to soak up the wet ingredients and the dough will get firmer.

Now’s the time to get your cinnamon sugar mixture ready. In a smallish bowl, add your 2 tablespoons of sugar and 1 tsp (or 2 if you like) of cinnamon. Whisk those together and set aside.
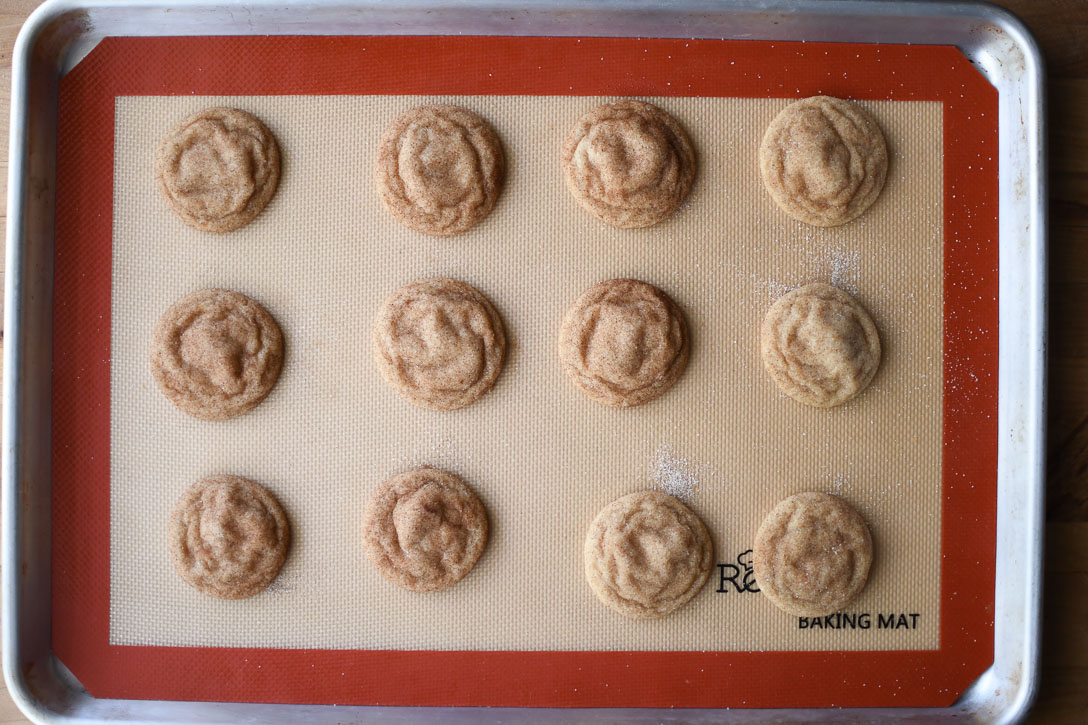
Baking Brown Butter Snickerdoodles
Line your cookie sheet with a silicone baking mat, parchment paper, or aluminum foil.
Using a tablespoon size cookie scoop to measure, roll the dough into a ball in your hands and then roll in the cinnamon sugar mixture. Place the balls on the cookie sheet at least 2 inches apart. (Don’t crowd the dough so your cookies have plenty of room to spread without running into each other).
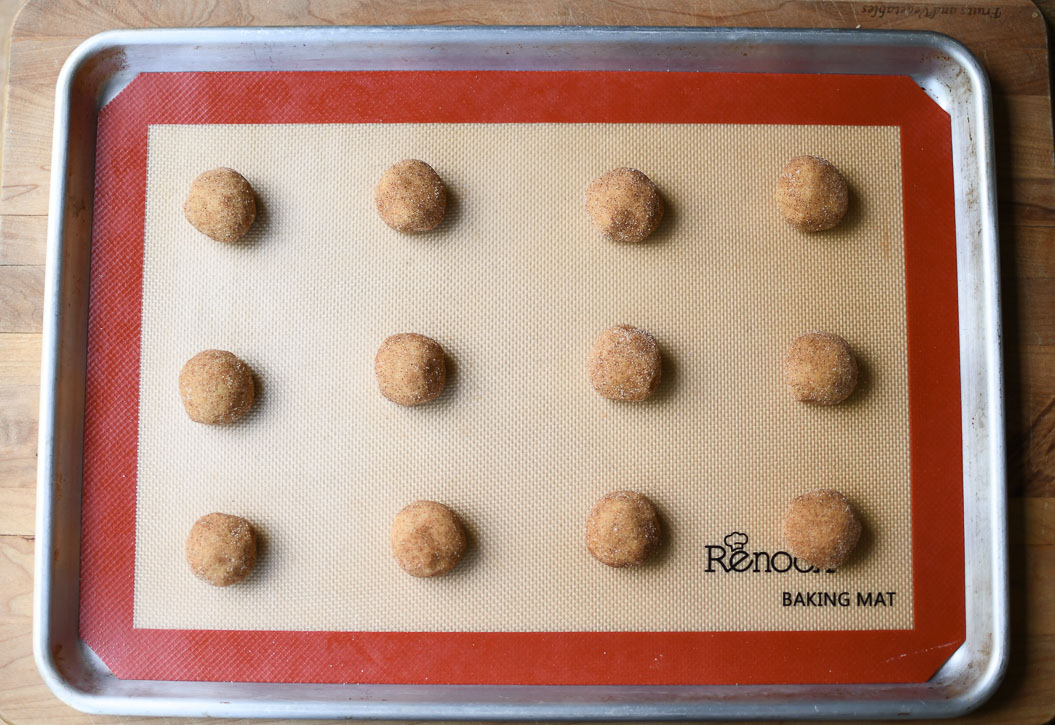
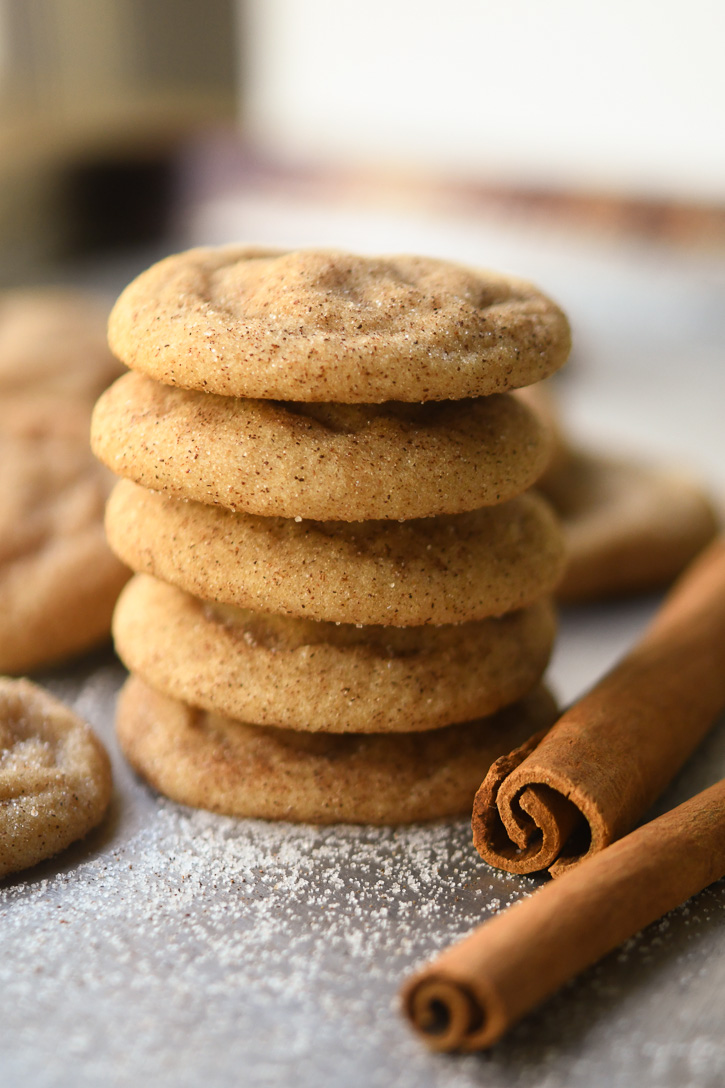
Bake at 350 for about 7-8 minutes. You’ll want to bake just until those cookies are set at the edges but not in the center. The magic of a soft snickerdoodle is leaving them slightly under-baked as you pull them from the oven. They’ll continue to bake on the cookie sheet for a few minutes. Let them cool for about 5 minutes and then remove them from the sheet. As they cool, they’ll deflate into the soft and crinkly looking traditional cookie.
Try one while they’re warm. It’s a heavenly experience. Love at first bite. Enjoy, friends and happy holiday baking!

Tips for the Best Brown Butter Snickerdoodles:
- Everyone uses different flours and scoops differently. For the most accurate cookie results, follow the weighted measurements in the recipe card. This recipe was tested with Great Value All Purpose Flour (Walmart).
- If your dough is too soft to roll into balls that mostly keep their shape, add a tablespoon more flour. If the dough feels too thick and dry, add 1 tbsp of milk and mix in thoroughly.
- I like to bake 1 or 2 cookies at the beginning to check my oven settings and time. These cookies need just 7 minutes in my oven, adjust for your own oven.
- Don’t overbake your cookies!! Watch them closely. You’ll look for the edges to be set but the centers to still look soft.
What to add to Snickerdoodles?
These cookies are absolutely wonderful by themselves! But if you’re looking to jazz things up, try adding some toasted pecans into the dough, or white chocolate chips. A simple vanilla glaze over the top would be quite fun too! Pumpkin pie spice in the dough (in place of the cinnamon) or in the sugar topping would be a great substitute during the fall months.
Brown Butter Snickerdoodle Q&A
Can I freeze this dough?
Yes! You can roll the dough into balls and in the sugar topping and freeze on a cookie tray. Once frozen, place the dough balls in a freezer safe ziploc bag or container. You can bake directly from frozen, but they made need a minute or two extra bake time. You can also flatten the dough into a rectangle, about 1.5 inches thick and wrap in parchment paper or freezer paper. Place this inside your ziploc bag.
Can I make them ahead of time?
These cookies can be made a day ahead of time, as they’re wonderful on the second day. But I wouldn’t make them several days ahead of an event though. If you’re planning to do that, make the dough and refrigerate or freeze it until you’re ready to use it.
Can I double this recipe?
Yes! And you’ll probably want to do for your Christmas baking!
Looking for more holiday cookies? Try these next!
- A soft and chewy Gingersnap Cookie
- Shaped Gingerbread Men
- Our favorite Roll Out Sugar Cookie dough

Brown Butter Snickerdoodles
Ingredients
- 1/2 cup butter, browned
- 1/2 cup sugar (95 g)
- 1/3 cup dark brown sugar (57 g)
- 1 egg, medium size
- 1 tsp whole milk
- 1 tsp vanilla
- 1/2 tsp cornstarch, baking soda, salt, and cinnamon
- 1 tsp cream of tartar
- 1 ⅔ cups all purpose flour (210 g)
Cinnamon Sugar
- 1 tsp cinnamon
- 2 tbsp sugar
Instructions
- Preheat the oven to 350℉.
- Brown the butter and pour into a medium to large mixing bowl. Let it cool for a few minutes (just so it isn't scorching hot). Add the sugars and mix well with a hand mixer or stand mixer.
- Add the egg, milk, and vanilla and mix until everything is thick and combined, about 1 minute.
- Add the cornstarch, baking soda, cream of tartar, salt, and cinnamon. Mix to evenly distribute.
- Add the flour, and gently mix on low until you no longer see any white streaks throughout. The dough shouldn't be too sticky to roll with your hands. If it is, you can add a tablespoon more of flour or cover the dough and let it sit at room temp for about 10 minutes while the flour soaks up the liquid ingredients.
- Using a cookie scoop or tablespoon, roll dough into balls, then roll in the cinnamon sugar. Place on a baking tray lined with foil, parchment paper, or a silicone baking mat.
- Bake for 7-8 minutes or until the cookies are set on the edges and slightly golden. Leaving them slightly undercooked is what makes them soft and chewy. Let cool for 5 minutes on the pan then place on wire rack to finish cooling.
Notes
- This recipe makes 24 cookies using 1 tablespoon of dough each.
- The recipe can be doubled if needed.
- Dough can be refrigerated to bake later, let it cool at room temp for about 30 minutes or until soft enough to scoop into balls.
- To freeze: Roll the dough into balls and then in the cinnamon sugar and place on a baking tray in the freezer. Once frozen, put the dough balls into a freezer safe ziploc bag or storage container. The cookies can be baked from frozen, no need to thaw first, but they will need a minute or two longer to bake.
If you try this recipe and love it, it would mean the world to me if you left a comment and a star rating!
Thanks for baking with me!


Wow! Thanks for showing me the difference browning butter can make with this recipe. I am hooked now. These cookies are absolutely delectable and I’m not even a big fan of cinnamon. Thank you so much for this fabulous recipe.
Hi Christie, thanks for trying the recipe! I’m so happy that you liked it! We’re big fans of brown butter in cookies.
I followed the recipe to a T but the batter turned out dry and crumbly. The cookies taste amazing but equally dry not gooey. Good for coffee dunkers
Hi Rebekah, I’m sorry to hear the cookies didn’t turn out as expected. I’ve never had the dough be dry and crumbly. These cookies should be soft and chewy, and slightly underbaked when done. I’d love to help you troubleshoot what might’ve went wrong during the process. If you’d like to, you can email me at [email protected] and I’m happy to help!
So yummy!! Perfect, soft, and tasty snickerdoodle cookies 🙂 my whole family loved them and they were all gone within a day!
Hi Hailey! I’m so glad you enjoyed the recipe! Happy Baking!
I tried this recipe with my Gramma and it was a huge hit with the family. Amazing recipe and will have to make them again soon
Hi Kara! I’m so happy you and your Gramma enjoyed the recipe!! This one is perfect for fall baking!
Can these be made gluten free?
Hi Lindsey, I haven’t made these with a gluten free flour so I can’t say for sure. If you have want to experiment with it, let me know how it goes!