Crochet Christmas Ornaments
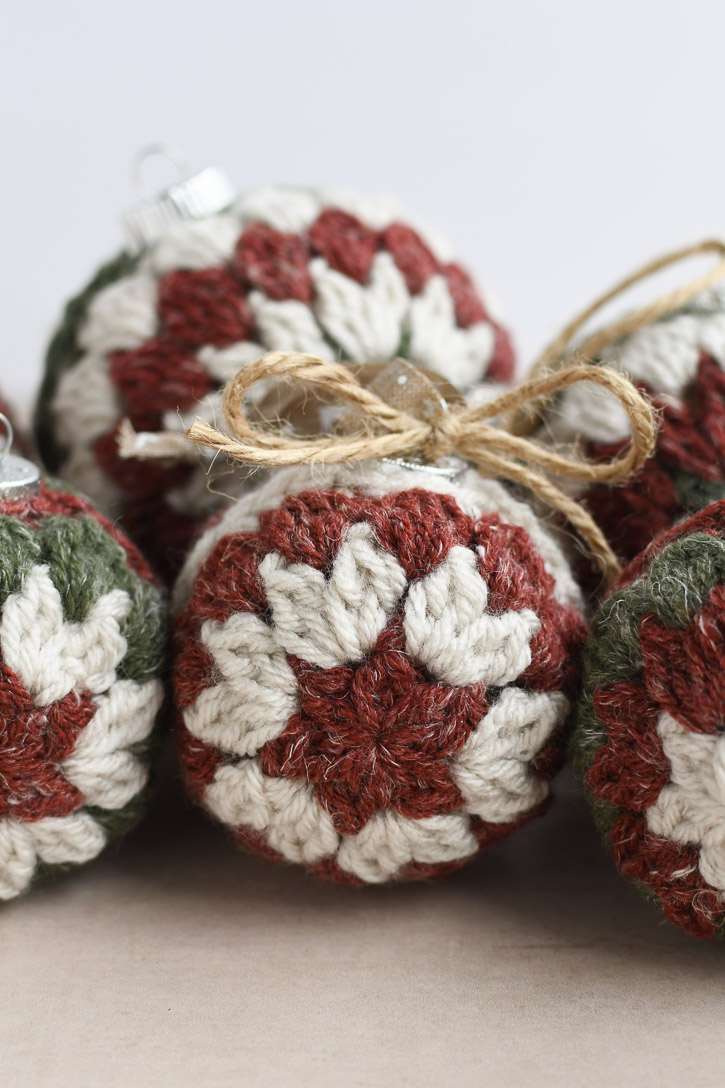
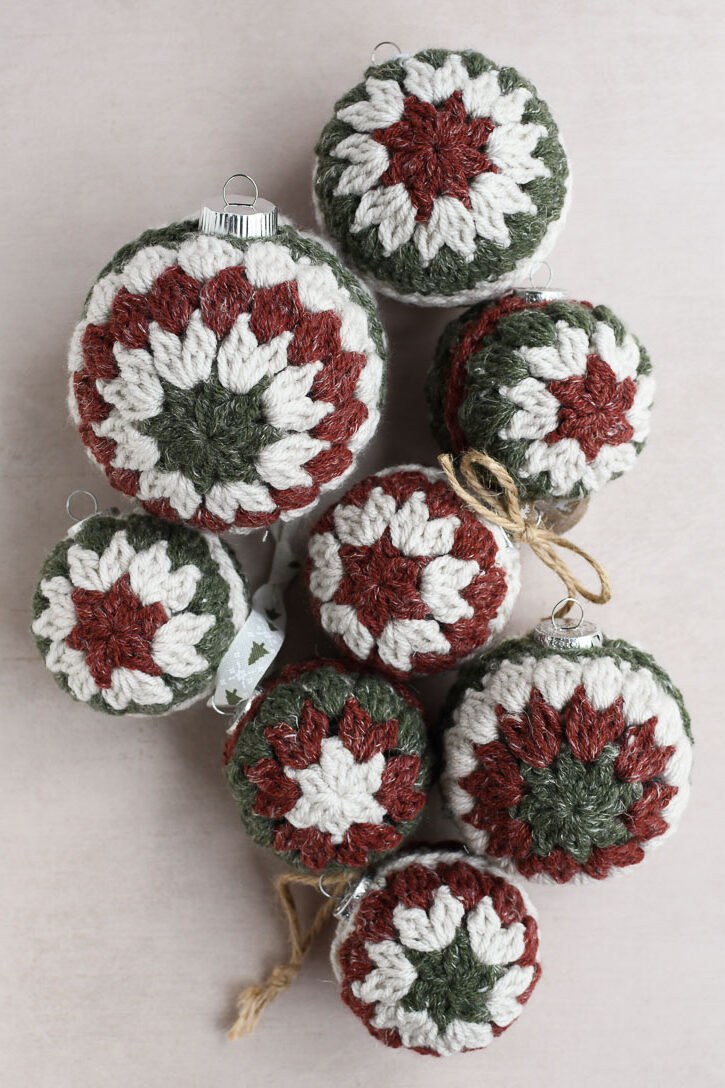
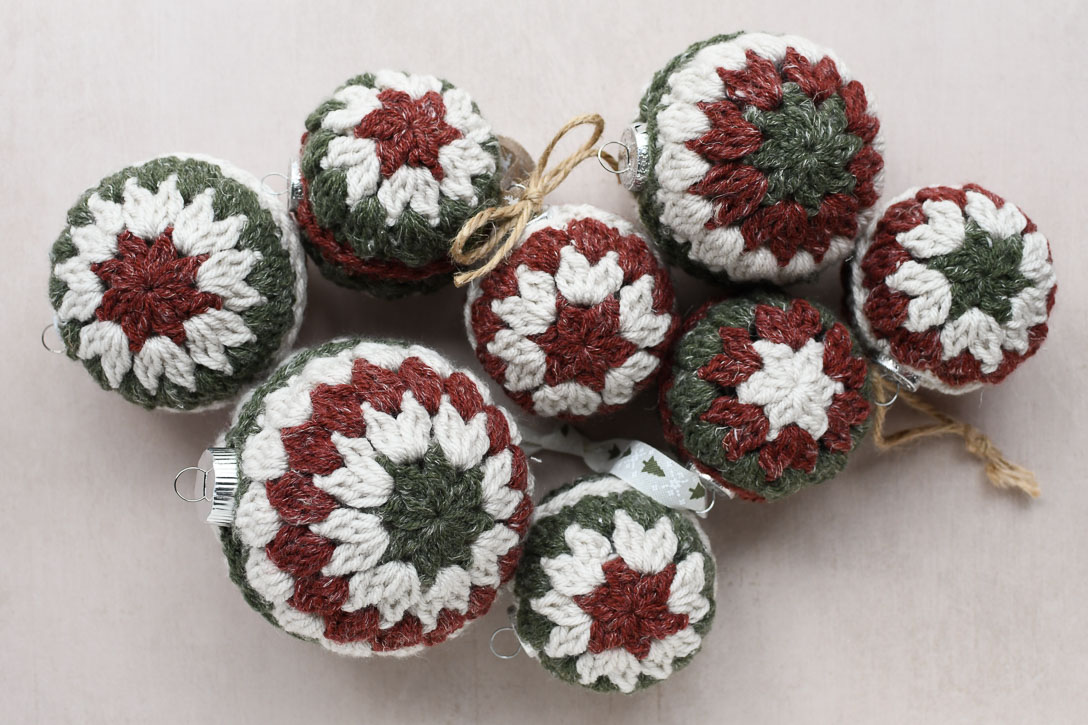
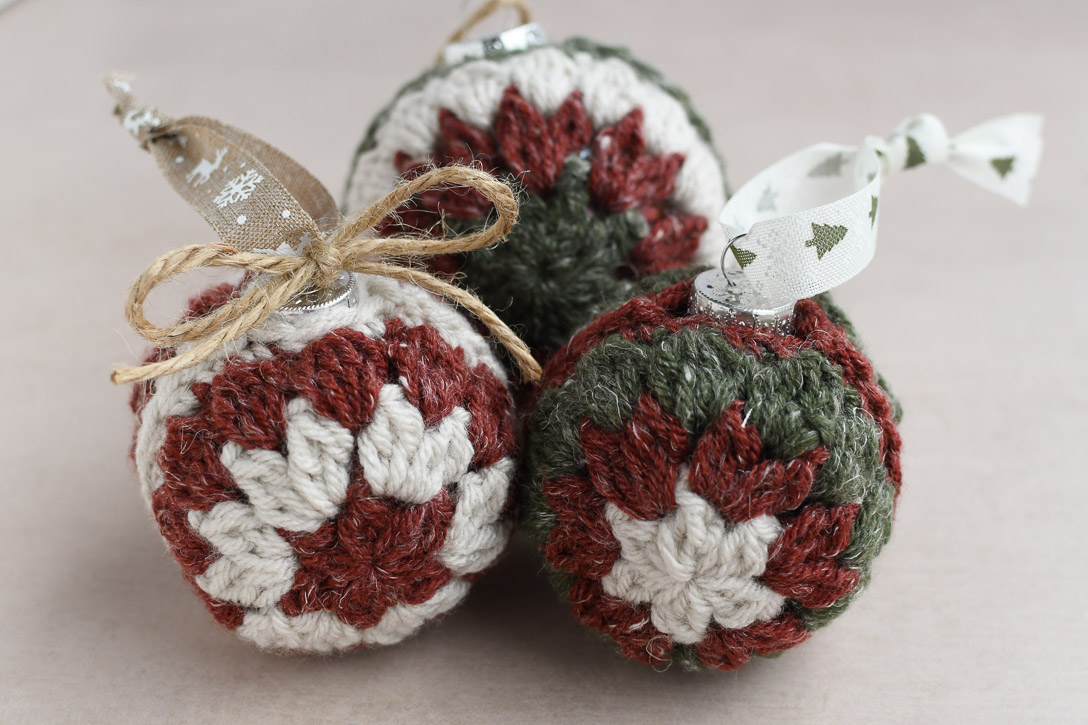
Hi crafty friends! I’m so excited to share these Crochet Christmas Ornaments with you today! They’re are a fun way to use up scrap yarn and make some beautiful handmade decorations.
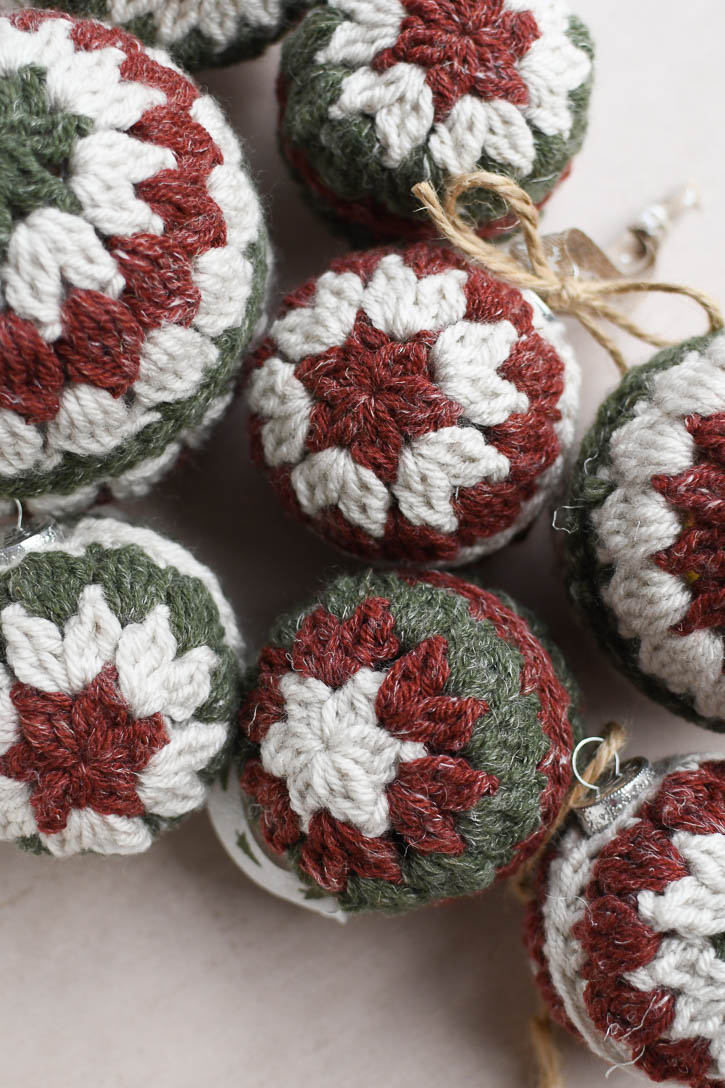
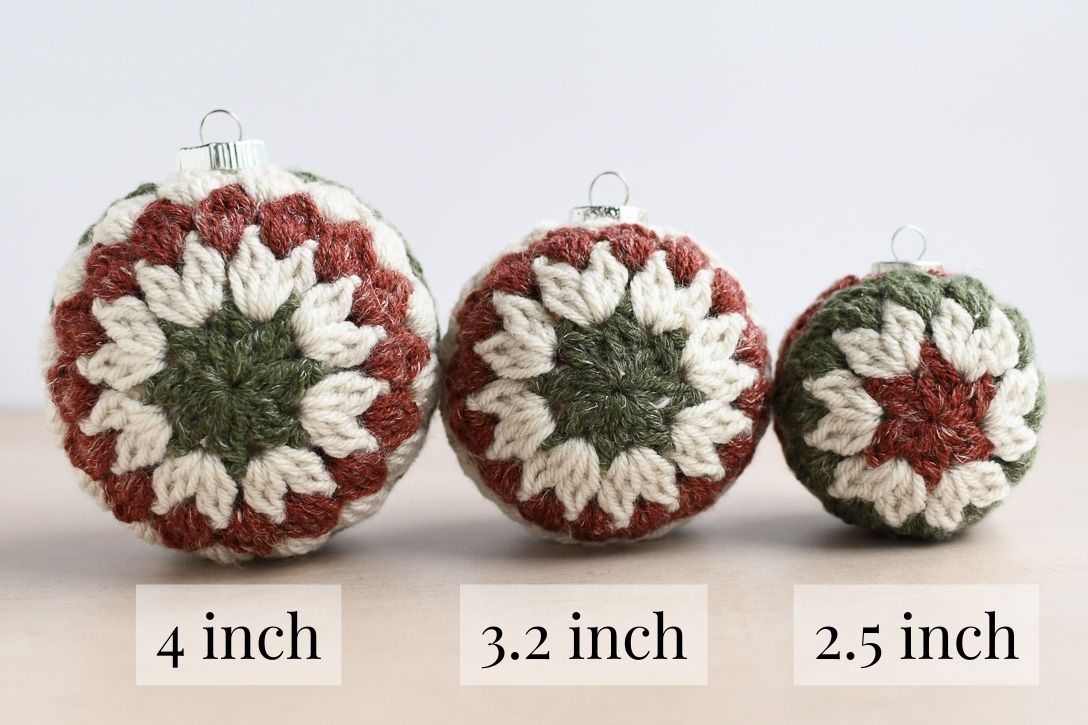
I’ve got 3 pattern sizes (small, medium, and large) to fit a variety of ornaments. The ones I used are from Dollar Tree and Hobby Lobby.
Finished size-to fit 2.5, 3.2, and 4 inch diameter
Turn on your favorite Hallmark Christmas movie, grab a cup of cocoa, your yarn & hook and let’s get merry!
Getting Started
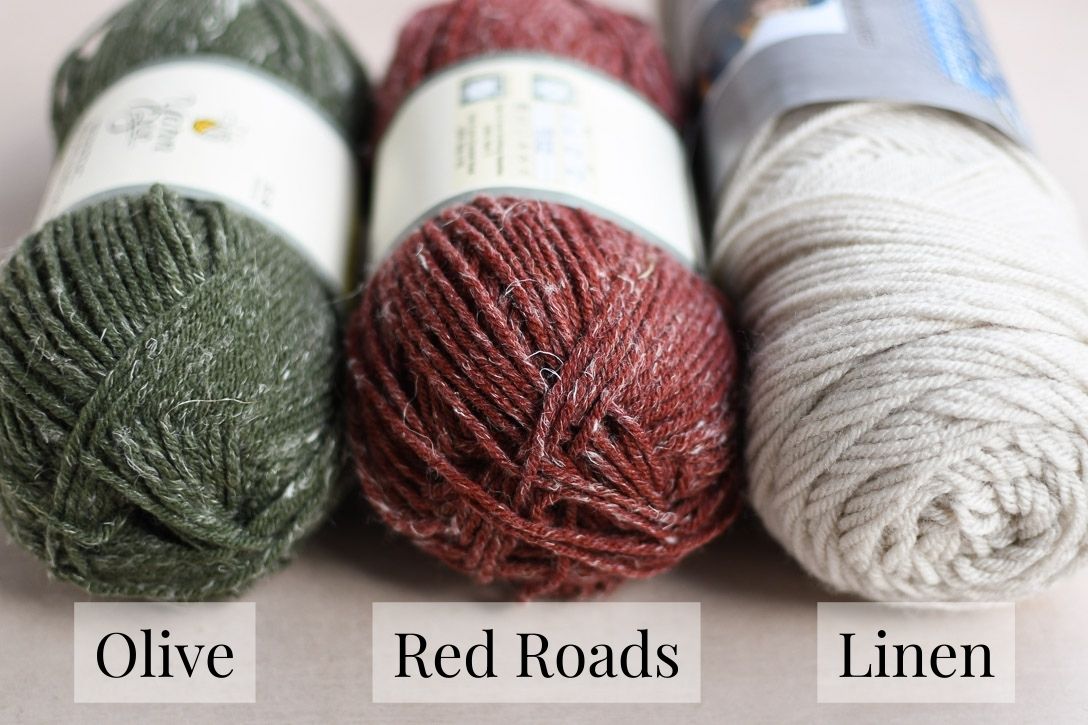
I wanted a rustic, vintage farmhouse vibe to these ornaments so I chose these deeper red and greens to work with. The white is a silvery gray leaning off white color.
This post contains affiliate links, which means I make a small commission at no extra cost to you. See my full disclosure here.
Supplies
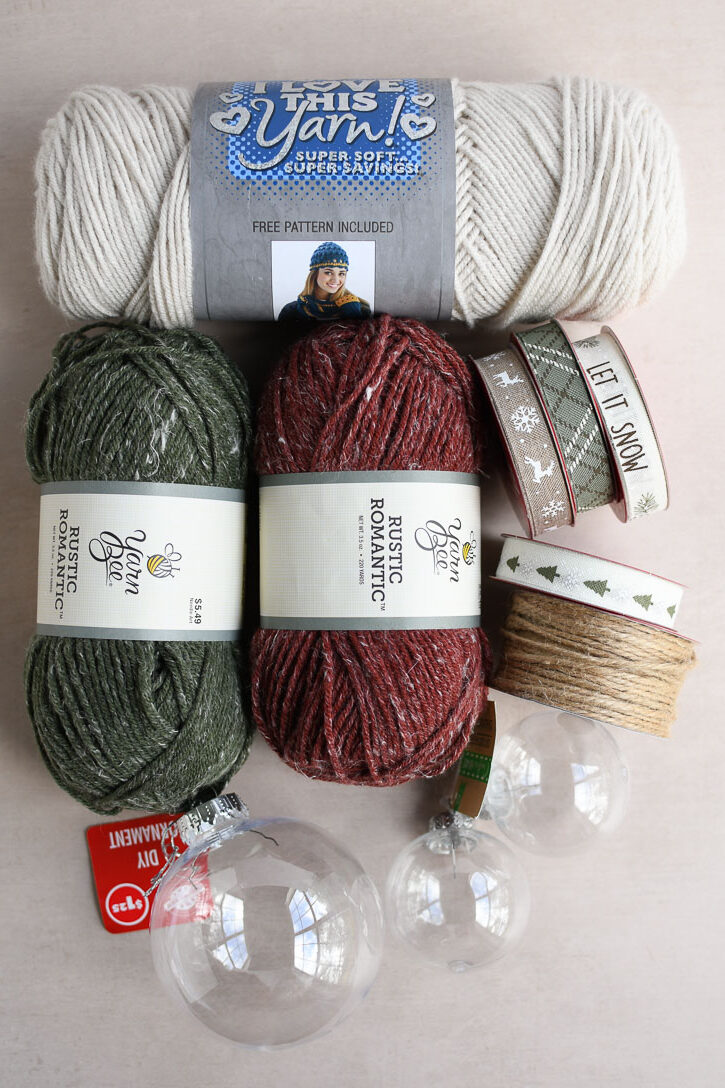
- Hook: 4.0 mm (these are my favorite hooks-Clover Amour)
- Yarns: #4 Worsted weight
- Colors: Yarn Bee Rustic Romantic-Red Roads and Olive. I Love This Yarn-Linen. All yarns in this project are from Hobby Lobby
- Tools: Scissors & Tapestry needle
- Ornaments: Clear plastic (shatterproof) in various sizes
- Extras: Twine, ribbon for decorating and hanging
Stitches & Abbreviations
Ch-Chain
SC-single crochet
DC-double crochet
Sl st-slip stitch
Half CL-half cluster
Half CL V Stitch-half cluster V-stitch
CL-regular cluster stitch
Special stitches:
Half CL-Yarn over and insert hook into stitch, pull up a loop (3 loops on hook), yarn over and pull through 2 loops. Repeat once more (3 loops on hook). Then yarn over, pull through all loops. Looks like a dc2tog but in one stitch.
Half CL V Stitch-Work a (Half CL, Ch 1, Half CL) all in one space.
CL-Yarn over and insert hook into stitch, pull up a loop (3 loops on hook), yarn over and pull through 2 loops. Repeat 3 more times (5 loops on hook). Yarn over, pull through all 5 loops on hook.
Notes about these Crochet Christmas Ornaments
How to adjust the pattern-I’ve made a variety of sizes to fit common ornaments sold in most stores. If you’re working with an ornament that’s between sizes listed here or different yarn weight, you can adjust the size by omitting or adding rows of cluster stitches or the 4th row of single crochet stitches. As you’re working the rounds, hold them up to the ornament and check the size. Don’t be afraid to stretch it a bit to fit around the ornament.
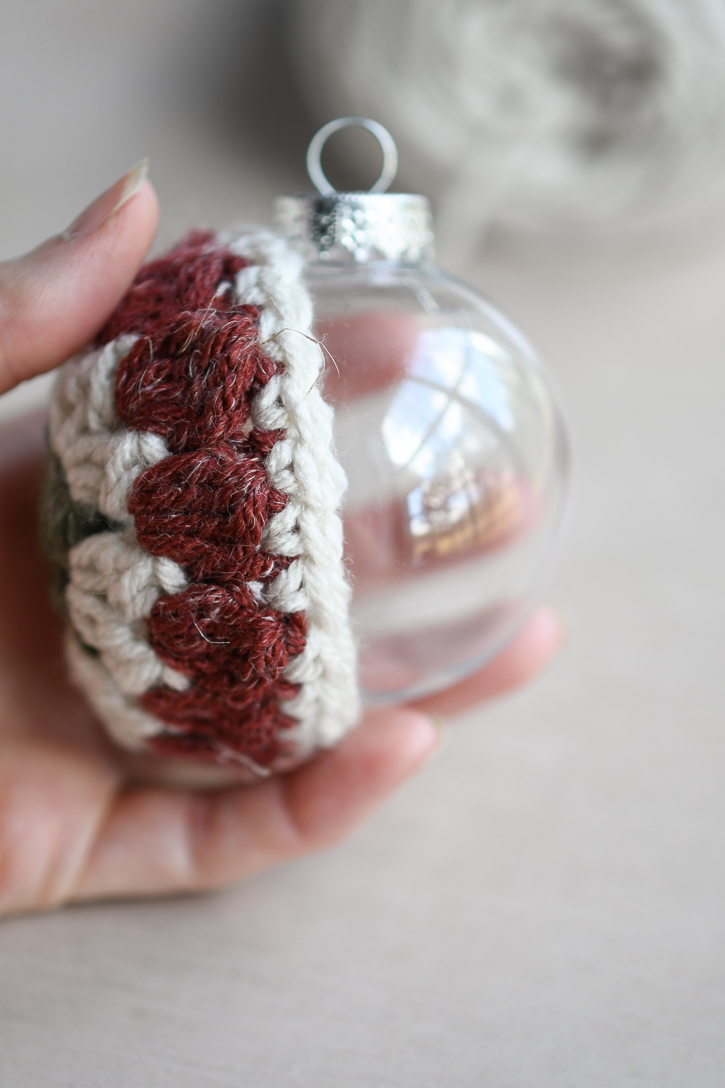
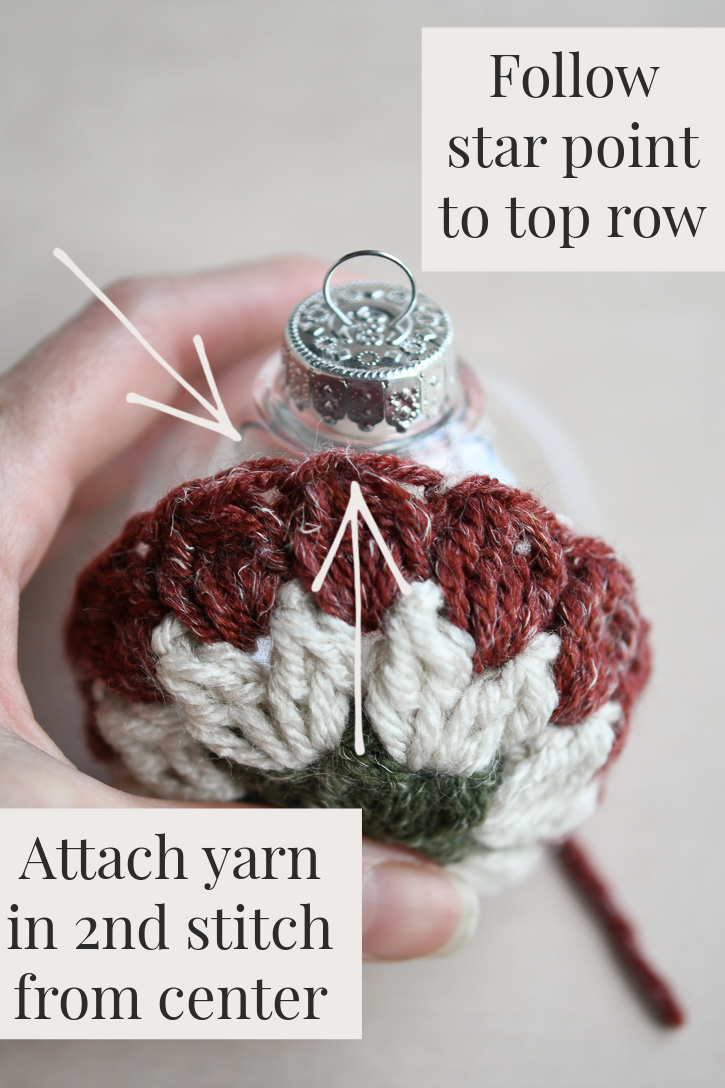
If you’d like the center “star” point at the top of the ornament….
- When attaching the last row, turn the work until a star tip is pointing to the top.
- Hold it up to the ornament and see how wide the top part is.
- Attach yarn to the left of the center by one or two stitches, depending on how large of an ornament top you’re working around.
Small Ornament Pattern
Fits 2.5″ diameter (Hobby Lobby or Dollar Tree)
Make 2 halves, following special instructions for Round 4 on the second half for joining and lining up the star points.
First Half:
Round 1: In a Magic Ring: (Ch 2, 1 DC, Ch 1), then (Half-CL, Ch 1) 5 more times. Sl st to first Ch-1 space, not Ch 2. Fasten off. (6 half-clusters, 6 Ch-1 spaces).
Half CL-create a half of a cluster stitch: Yarn over and insert hook into stitch, pull up a loop (3 loops on hook), yarn over and pull through 2 loops. Repeat once more (3 loops on hook). Then yarn over, pull through all loops. Looks like a dc2tog but in one stitch.
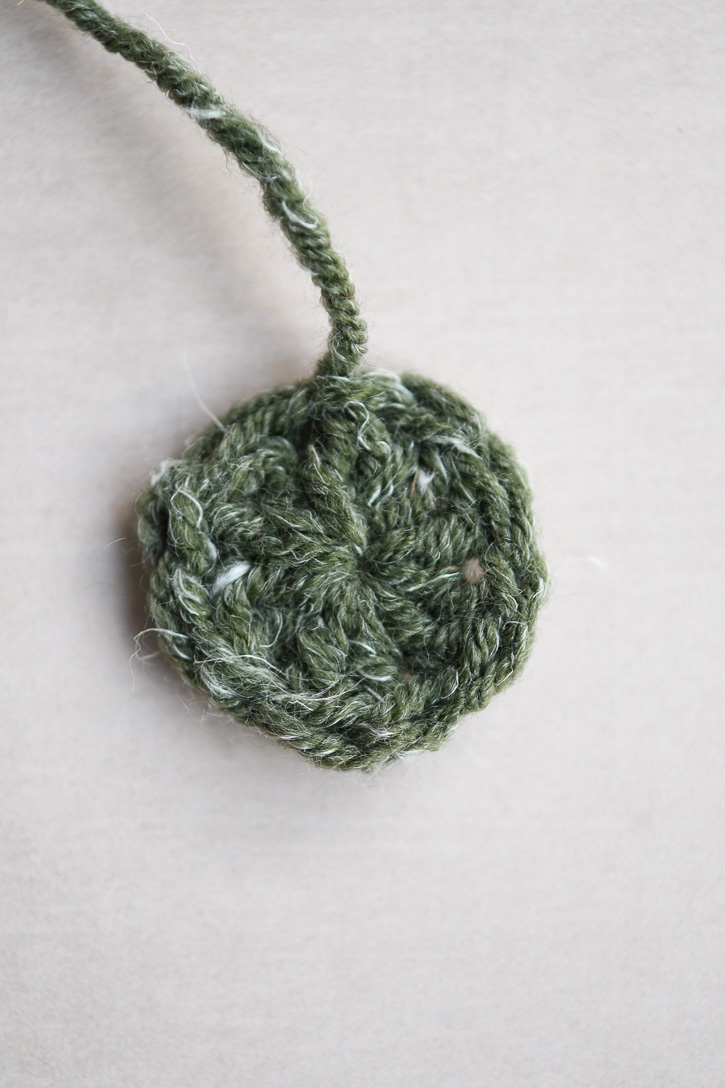
Round 2: Attach new yarn in any Ch-1 space. (Ch 2, DC, Ch 1, Half Cluster, Ch 1) in the same space. In the next 5 spaces, (Half CL V-Stitch, Ch 1). Sl st in first Ch-1 space (not first DC). Fasten off. (6 Half CL V-Stitches, 12 Ch-1 spaces).
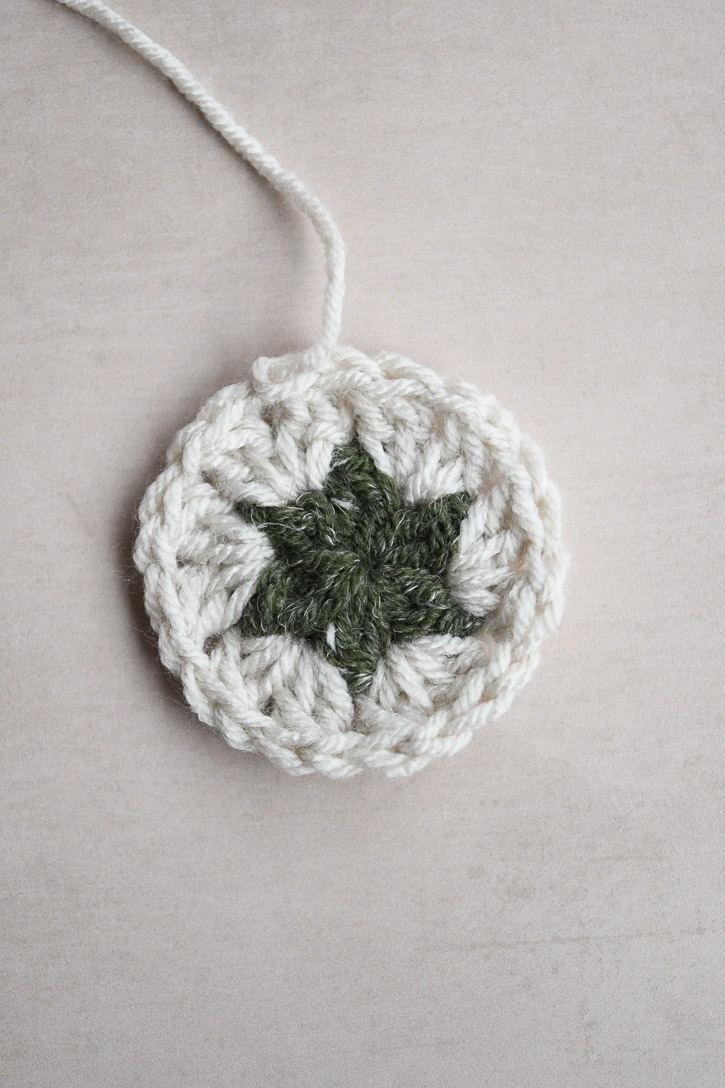
Round 3: Attach new yarn in any Ch-1 space. (Ch 2, 3 DC Cluster, Ch 1) in same space. In the next 11 spaces, (CL, Ch 1). Should start to form a bowl shape. Sl st to top of first cluster. Fasten off. (12 CL stitches, 12 Ch-1 spaces).
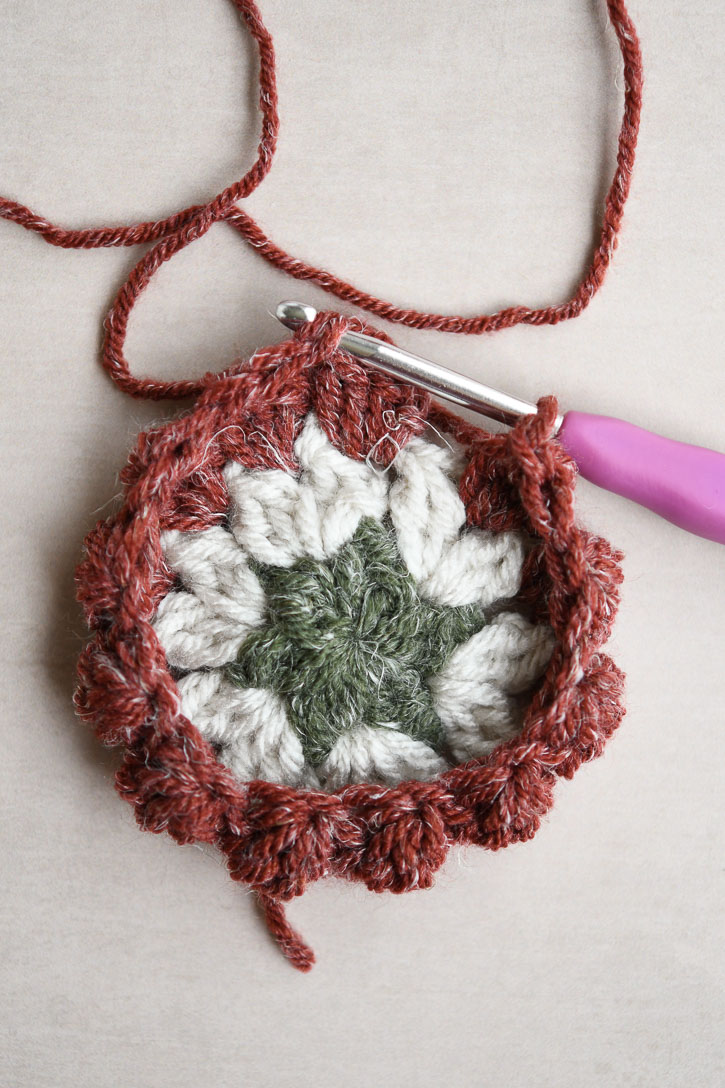
Round 4: (1st Half) Join yarn with a standing SC in any stitch, then SC in every stitch. Sl st to first SC. Fasten off.
Second Half:
Repeat rounds 1-3 above then use these instructions for Round 4.
Round 4: (2nd Half) Find a star tip and follow it up. Join yarn in the 2nd stitch to the LEFT of the center with a Standing SC, then SC in every stitch around. Join with a SL st to top of first SC. Do not fasten off.
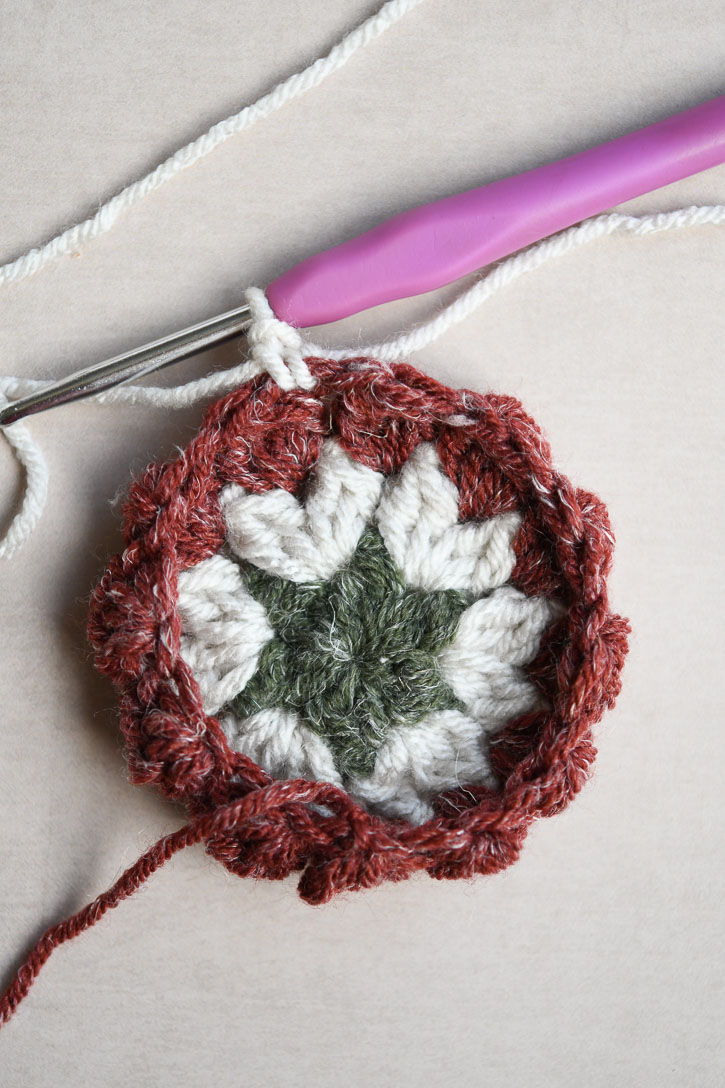
Or, you can finish the Round 4 the same as the first half method, and use any slip stitch or join method you like, just be sure to align your star points if you care about such things.
Follow Joining Instructions
Medium Ornament Pattern
Fits 3.2″ diameter (Hobby Lobby)
Make 2 halves, following special instructions for Round 4 on the second half for joining and lining up the star points.
Round 1: In a Magic Ring: (Ch 2, 1 DC, Ch 1), *Half-CL, Ch 1* 7 more times. Sl st to first Ch 1 space, not Ch 2. Fasten off. (8 half-clusters, 8 Ch-1 spaces)
Round 2: Attach new yarn in any Ch 1 space. (Ch 2, DC, Ch 1, Half Cluster, Ch 1) in the same space. In the next 7 spaces, (Half CL V-Stitch, Ch 1). Sl st in first Ch 1 space (not first DC). Fasten off. (8 Half CL V-Stitches, 16 Ch-1 spaces)
Round 3: Attach new yarn in any Ch-1 space. (Ch 2, 3 DC Cluster, Ch 1) in same space. In the next 15 spaces, (CL, Ch 1). Should start to form a bowl shape. Sl st to top of first cluster. Fasten off. (16 CL stitches, 16 Ch-1 spaces).
Round 4: (1st Half) Join yarn with a standing SC in any stitch, then SC in every stitch. Sl st to first SC. Fasten off.
Round 4: (2nd Half) Find a star tip and follow it up. Join yarn in the 2nd stitch to the LEFT of the center with a Standing SC, then SC in every stitch around. Join with a Sl st to top of first SC. Do not fasten off.
Follow Joining Instructions
Large Ornament Pattern
Fits 3.94″ diameter (Hobby Lobby or Dollar Tree)
Make 2 halves, following special instructions for Round 5 on the second half for joining and lining up the star points.
Round 1: In a Magic Ring: (Ch 2, 1 DC, Ch 1), *Half-CL, Ch 1* 7 more times. Sl st to first Ch 1 space, not Ch 2. Fasten off. (8 half-clusters, 8 Ch-1 spaces)
Round 2: Attach new yarn in any Ch-1 space. (Ch 2, DC, Ch 1, Half Cluster, Ch 1) in the same space. In the next 7 spaces, (Half CL V-Stitch, Ch 1). Sl st in first Ch-1 space (not first DC). Fasten off. (8 Half CL V-Stitches, 16 Ch-1 spaces)
Round 3: Attach new yarn in any Ch-1 space. (Ch 2, 3 DC Cluster, Ch 1) in same space. In the next 15 spaces, (CL, Ch 1). Should start to form a bowl shape. Sl st to top of first cluster. Fasten off. (16 CL stitches, 16 Ch-1 spaces).
Round 4: Repeat Round 3
Round 5: (1st Half) Join yarn with a standing SC in any stitch, then SC in every stitch. Sl st to first SC. Fasten off.
Round 5: (2nd Half) Find a star tip and follow it up. Join yarn in the 2nd stitch to the LEFT of the center with a Standing SC, then SC in every stitch around. Join with a Sl st to top of first SC. Do not fasten off.
Follow Joining Instructions
Joining Instructions
Place your two sides together right sides facing out, working yarn to the inside, and line up the stitches to match with the opposite side.
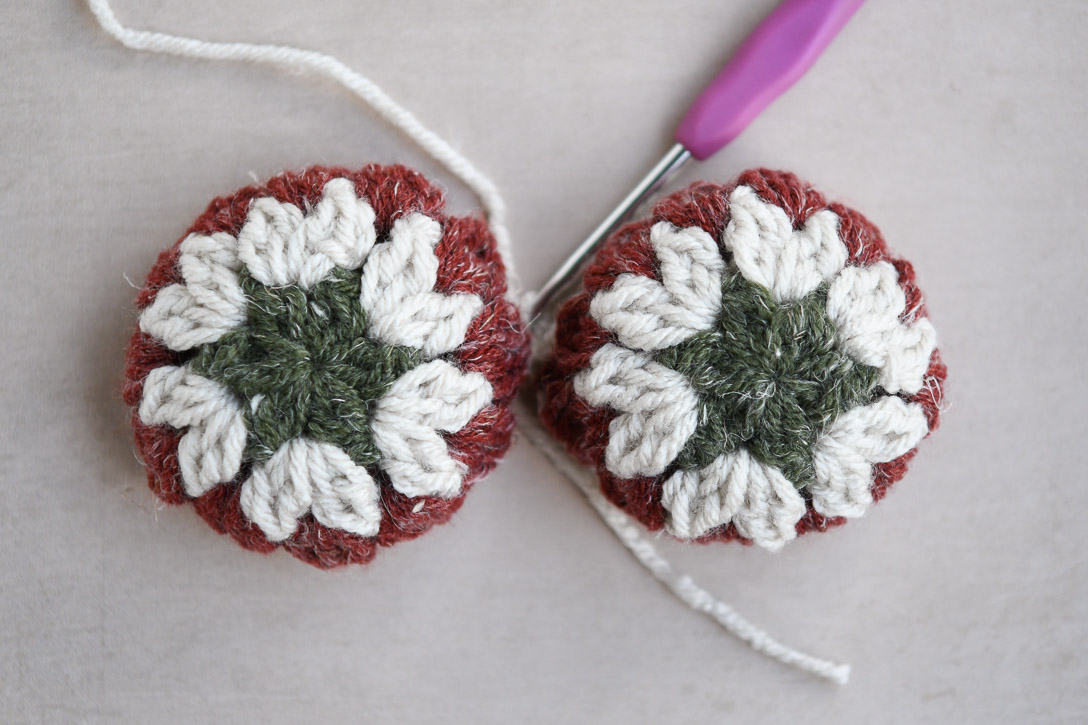
Find the matching stitch and join with a slip stitch.
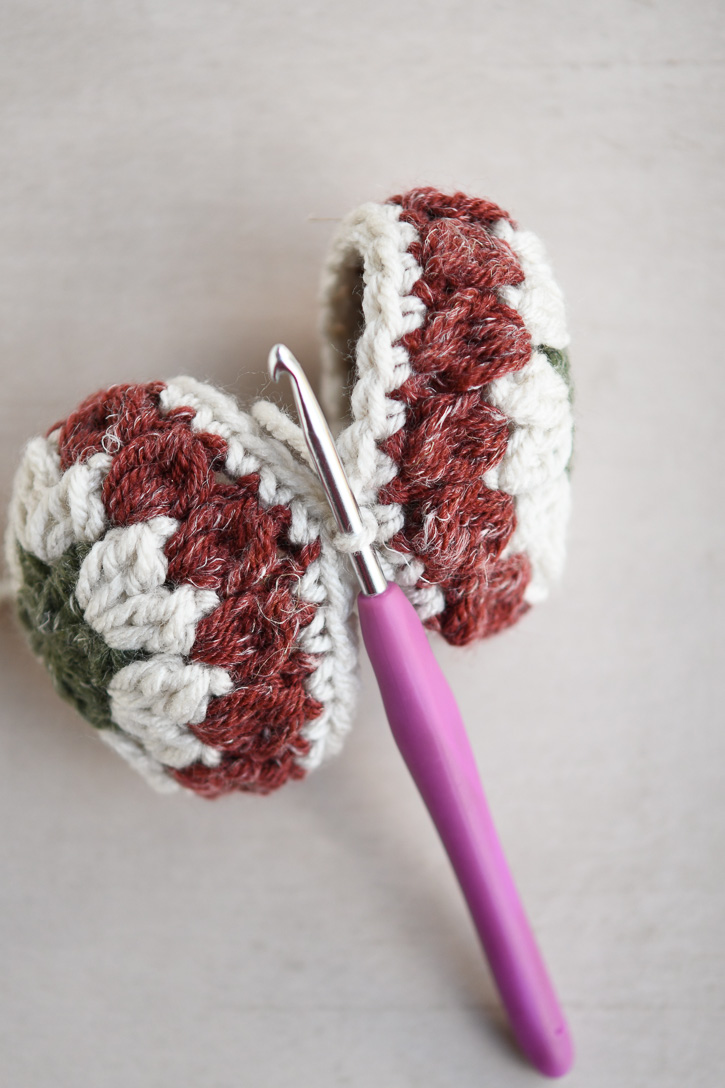
Then slip stitch each side together going under top two loops of the next stitch on the right side, then the top two loops of matching left side stitch, then slipping through all 5 loops on hook.
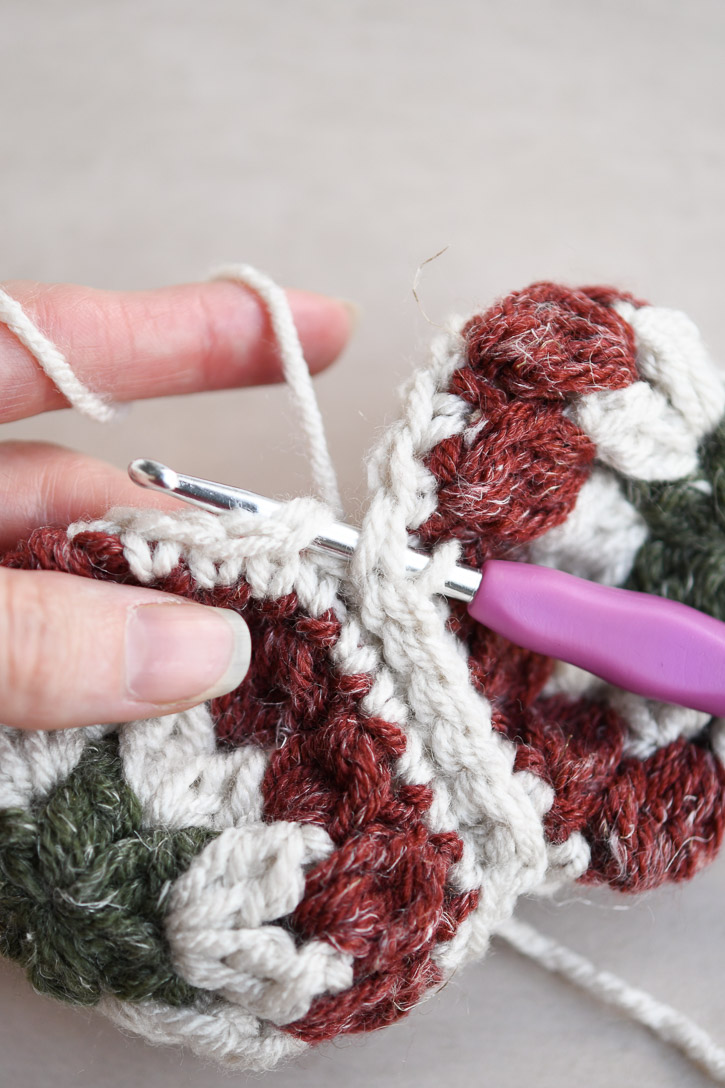
Slip stitch 2/3 of the way around, then insert the ornament.
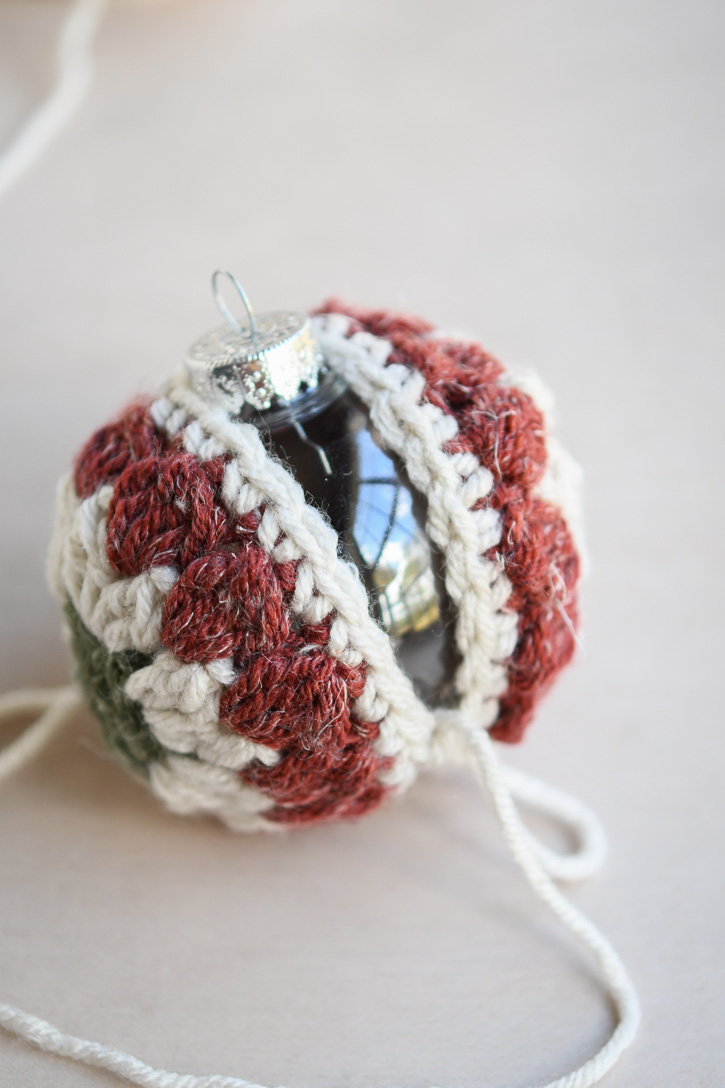
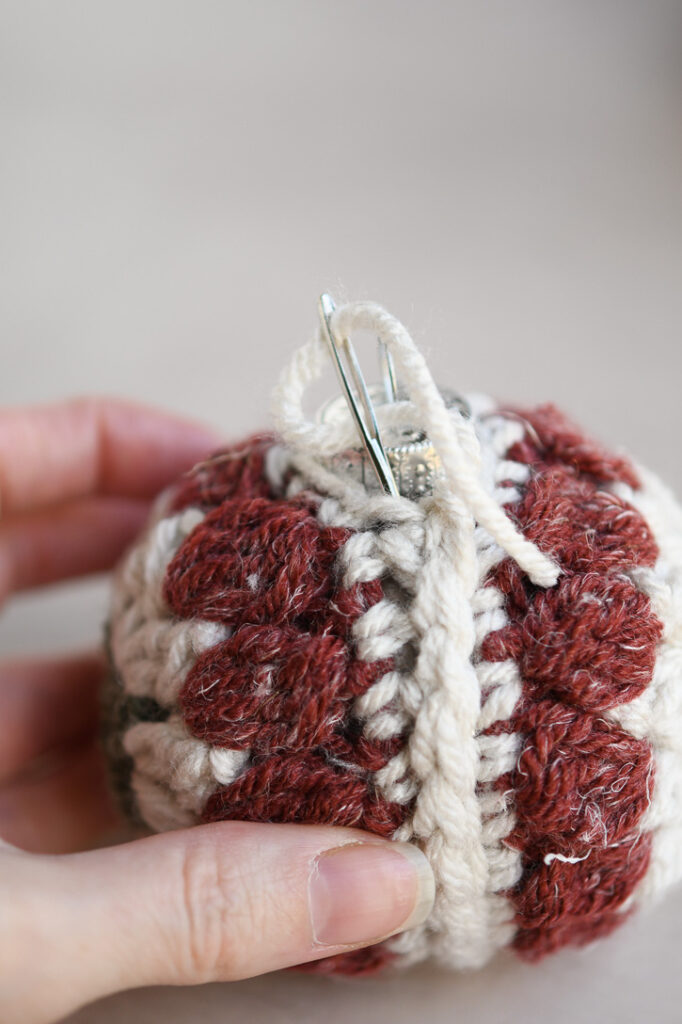
Continue slip stitching until you reach the top of the ornament. Don’t be afraid to stretch the piece a bit to get it to fit.
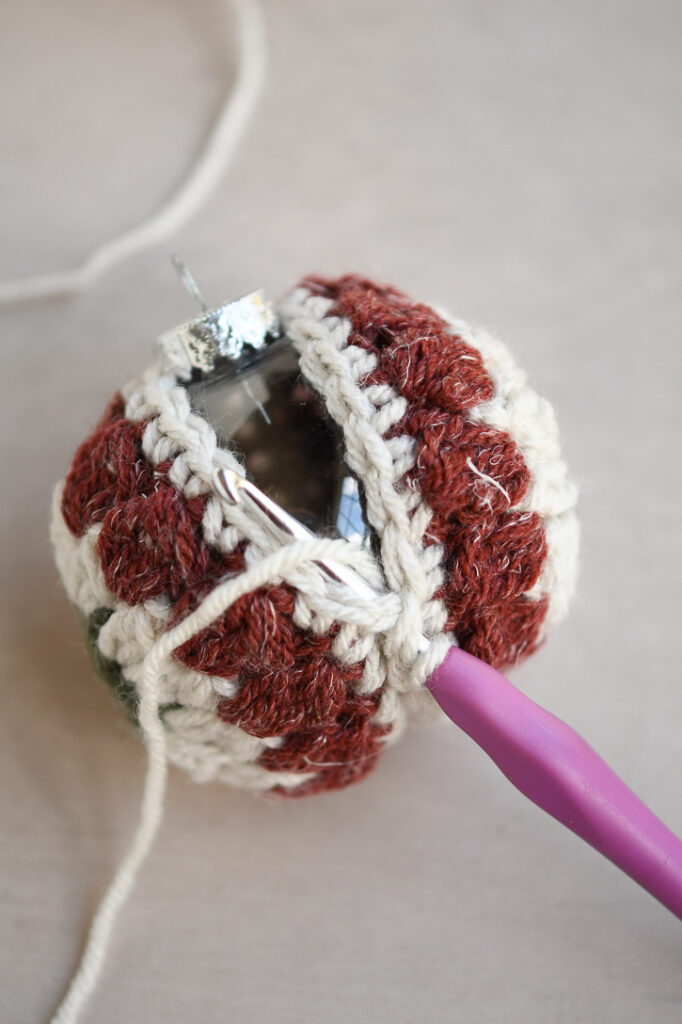

It will get a bit fiddly toward the top, just slip stitch as best as you can to close up the gaps. You may have to lift the last stitches onto the hook with your fingers if the space is too tight to work into.
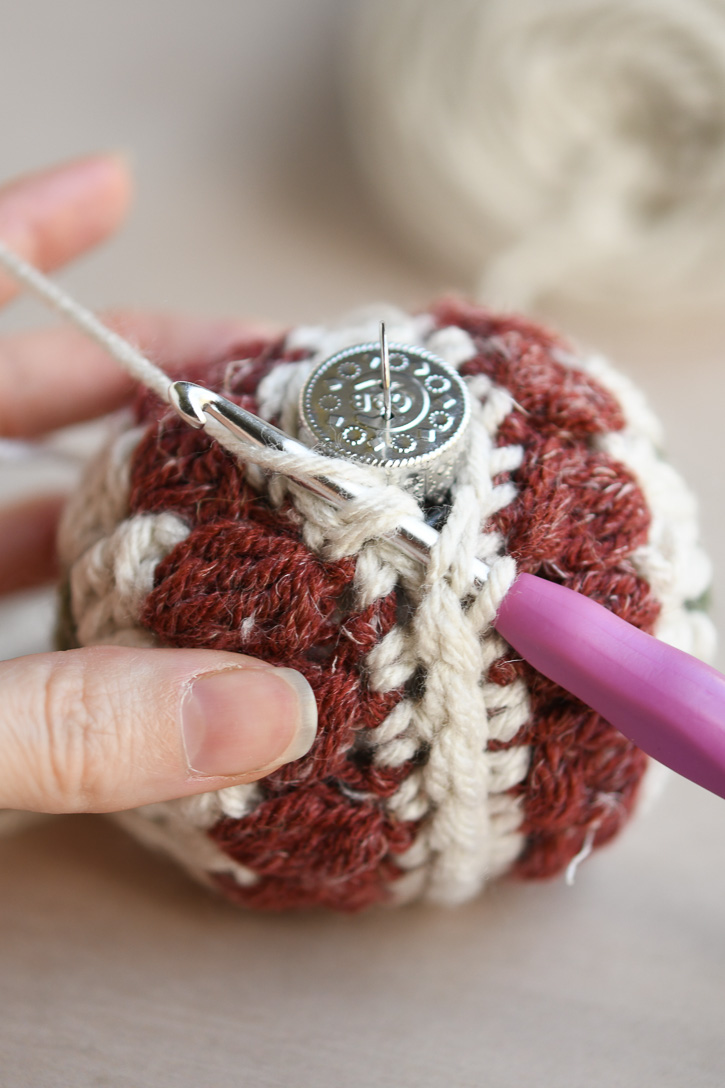
Fasten off and weave in yarn tail. Admire your work!

Finishing Crochet Christmas Ornaments
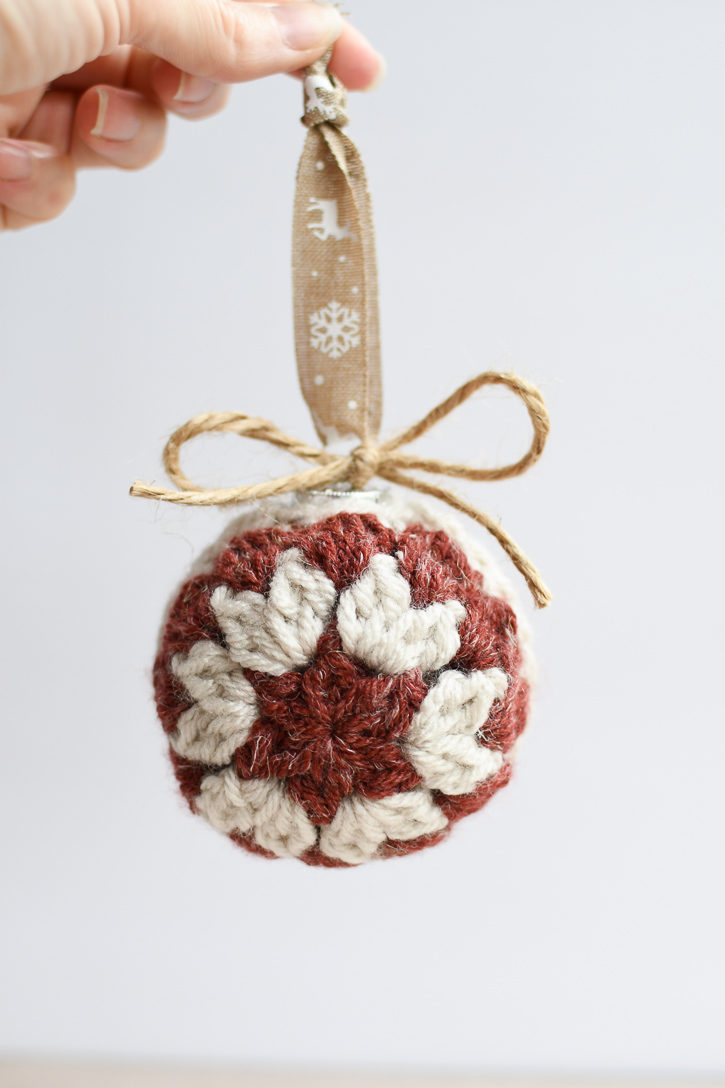
To complete your ornament, you can add twine, ribbon, or pretty string to loop through the top. Tie a bow if you like.
I’d love to hear from you!
If you try these Crochet Christmas Ornaments patterns and love them, please leave a comment and let me know how it went. Happy Crocheting!
Looking for more patterns you’ll love?
Cozy up with the Moss Stitch Blanket
